Abe and I fabricated the mounts for the air jack system earlier last year (details here) and I finally got around to making a manifold to split the air to the three jacks. Some cars on air jacks go up and down in an awkward manner which I assume is due to a combination of variances in weight distribution and restrictions in the lines. Since I have one jack up front and two in the rear I wanted a way to tune things.
I looked into using valves, but everything that I found that was rated for 30 bar (435 psi) was larger and heavier than I wanted. So I decided to go old school and thread a hex plug in front of each AN adapter. By drilling different size holes in the plugs, I can change the level of restriction going to each line allowing me to tweak how the car is raised and lowered… at least that’s my theory.
The system runs on -6 AN lines and fittings so I started looking for the smallest hex plug with a hex key that would accommodate a 3/8” hole. I spent a lot of time looking at imperial fittings, but just about everything that I found had tapered threads which was a nonstarter. Most metric plugs and fittings seem to have parallel threads and I was able to find a M20-1.5 stainless steel hex plug and an -6 AN to M20-1.5 adapter. The only standard hex plug that I could find cost $32 which was unreasonable, but I found one with a flange for under $10. So I bought several and cut the flange off. This doesn’t leave a lot of material for the hex to wrench to grab, but it also results in a shorter plug which is advantageous. Once the flange was removed I dropped a 3/8” end mill through the middle.
After I had machined everything, I realized that since I tapped the holes all of the the way through the plug had nothing to bind against and might unwind into the manifold’s inner chamber. In addition, machining the plugs to tweak the amount of restriction was a PITA, so I decided to Loctite the plugs in place and cut a restictor disk from 0.90” stainless.

From left to right, AN adapters, copper crush washers, restrictor disks, modified hex plugs and an unmodified hex plug.
The manifold started as a hunk of aluminum. After cutting it to length I face milled all six sides to square things up. I ordered a 18.5 mm drill bit and when it arrived I realized that it was too big for the 1/2” chuck that I have in the mill. Same problem with the drill press). D’OH!
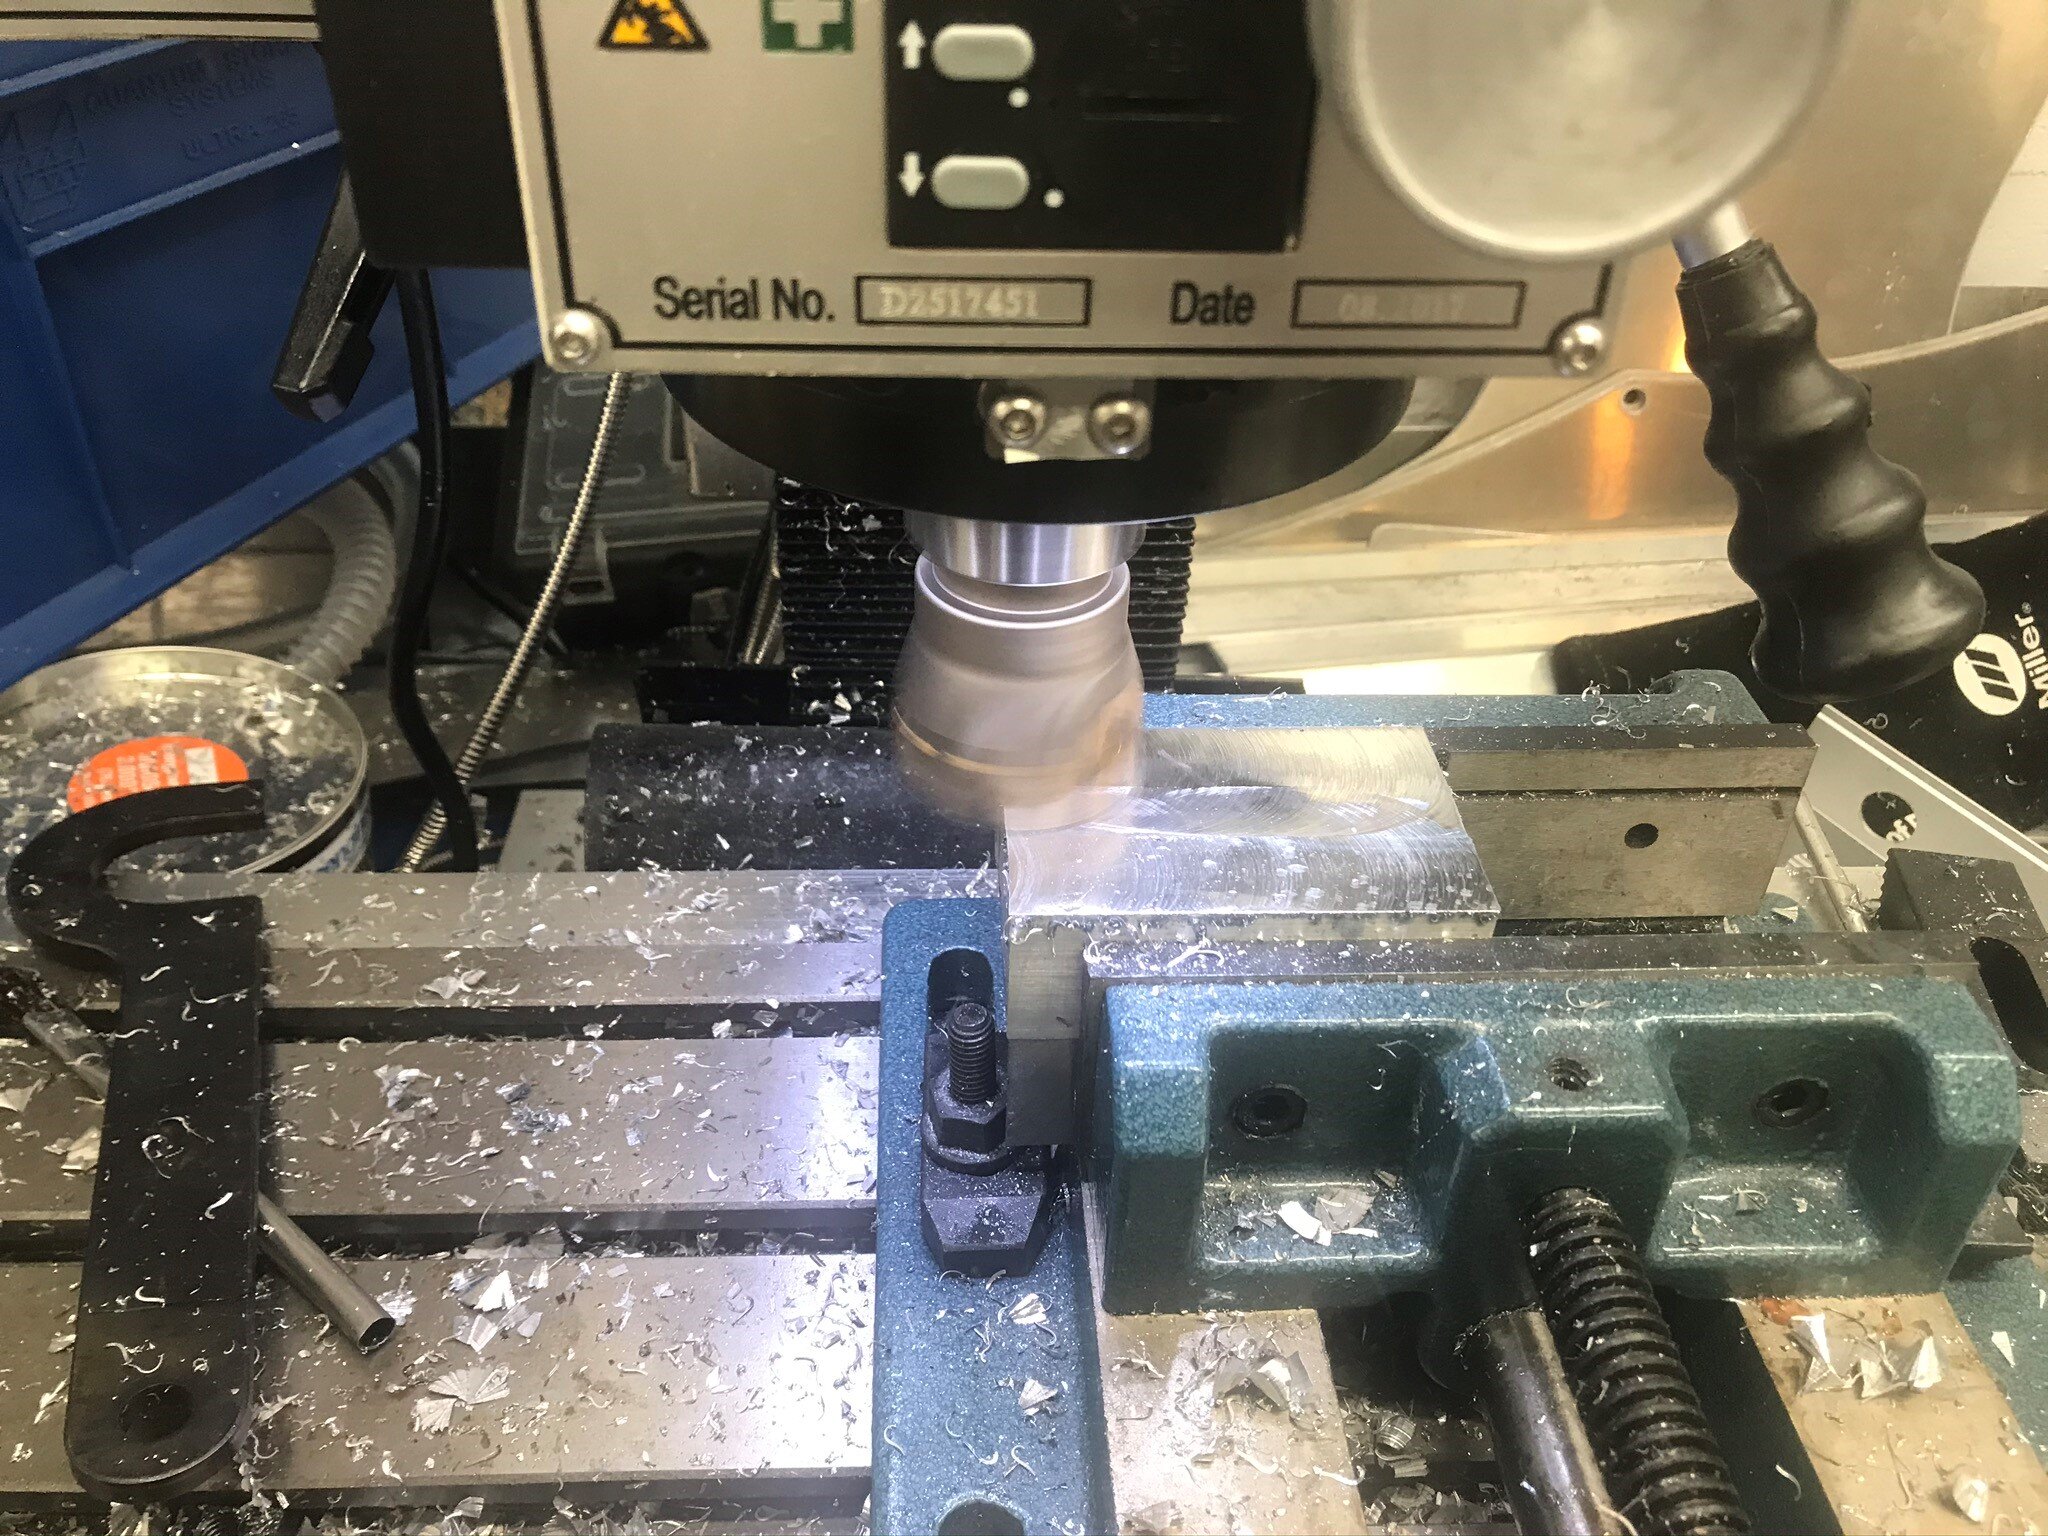
Facing all six sides
Fortunately they make drill bits with reduced shanks. So I ordered one and when I tried to chuck it up I realized that I didn’t have enough Z-axis — Double D’OH!
The issue is that the drill chuck has an integrated collet and it protrudes 3.4” lower than a plain collet does. After an appropriate amount of profanity, it occurred to me that the bit’s reduced shank was 1/2” and I had a 1/2” collet. I had never considered using a collet to hold a drill bit — duh, problem solved.
Given that the adapter uses a crush washer to seal, it’s important that the manifold’s surface is flat and that the hole is tapped perpendicular to the surface. The facing step mentioned above met the first condition, but I’m not great at tapping perfectly straight holes by hand so I often use a tapping block. For critical threads like these ones I have mounted a tap in a drill press, applied pressure on the quill handle and spun the chuck. That works, but it’s awkward. I then discovered that larger taps have an indent, called a center hole, in the top which is used to receive a tap guide. For under $20 I purchased an adjustable spring-tensioned tap guide.
From left to right; reduced shank drill bit, tap with center hole, spring-tensioned tap guide and tap handle.
To drill and tap a perfectly straight hole I do the following:
drill the hole
swap the drill bit with a counter sink
bevel the hole
swap the counter sink with the tap guide
insert the tap into a tap handle and place it in the hole
add cutting fluid
drop the quill ensuring that the point of the tap guide is centered in the hole in the top of the tap
continue to drop the quill until the spring is compressed
lock the quill
tap as normal
This ensures that the tap is perfectly centered and vertical. This is significantly easier than inserting the tap directly into the chuck because you don’t need to worry about applying constant pressure on the quill (the spring automatically does this) and you can use a tap handle rather than the chuck to rotate the tap.

I arranged the three outlets in a “T”. To keep things balanced, the outlets for the rear jacks symmetrically exit the sides and the outlet for the front jack exits the bottom. I was originally going to tap the inlet, but I didn’t have as much material as I had planned so I had Abe weld a bung. As shown below, the air jack connector mounts directly to the manifold.

The next step is to finish the plumbing and test the system. I ordered a nitrogen set up from Paoli in Italy several months ago. It seems that they have the pandemic under better control, so I’m hopeful that the equipment will show up soon.