SL-C Cage
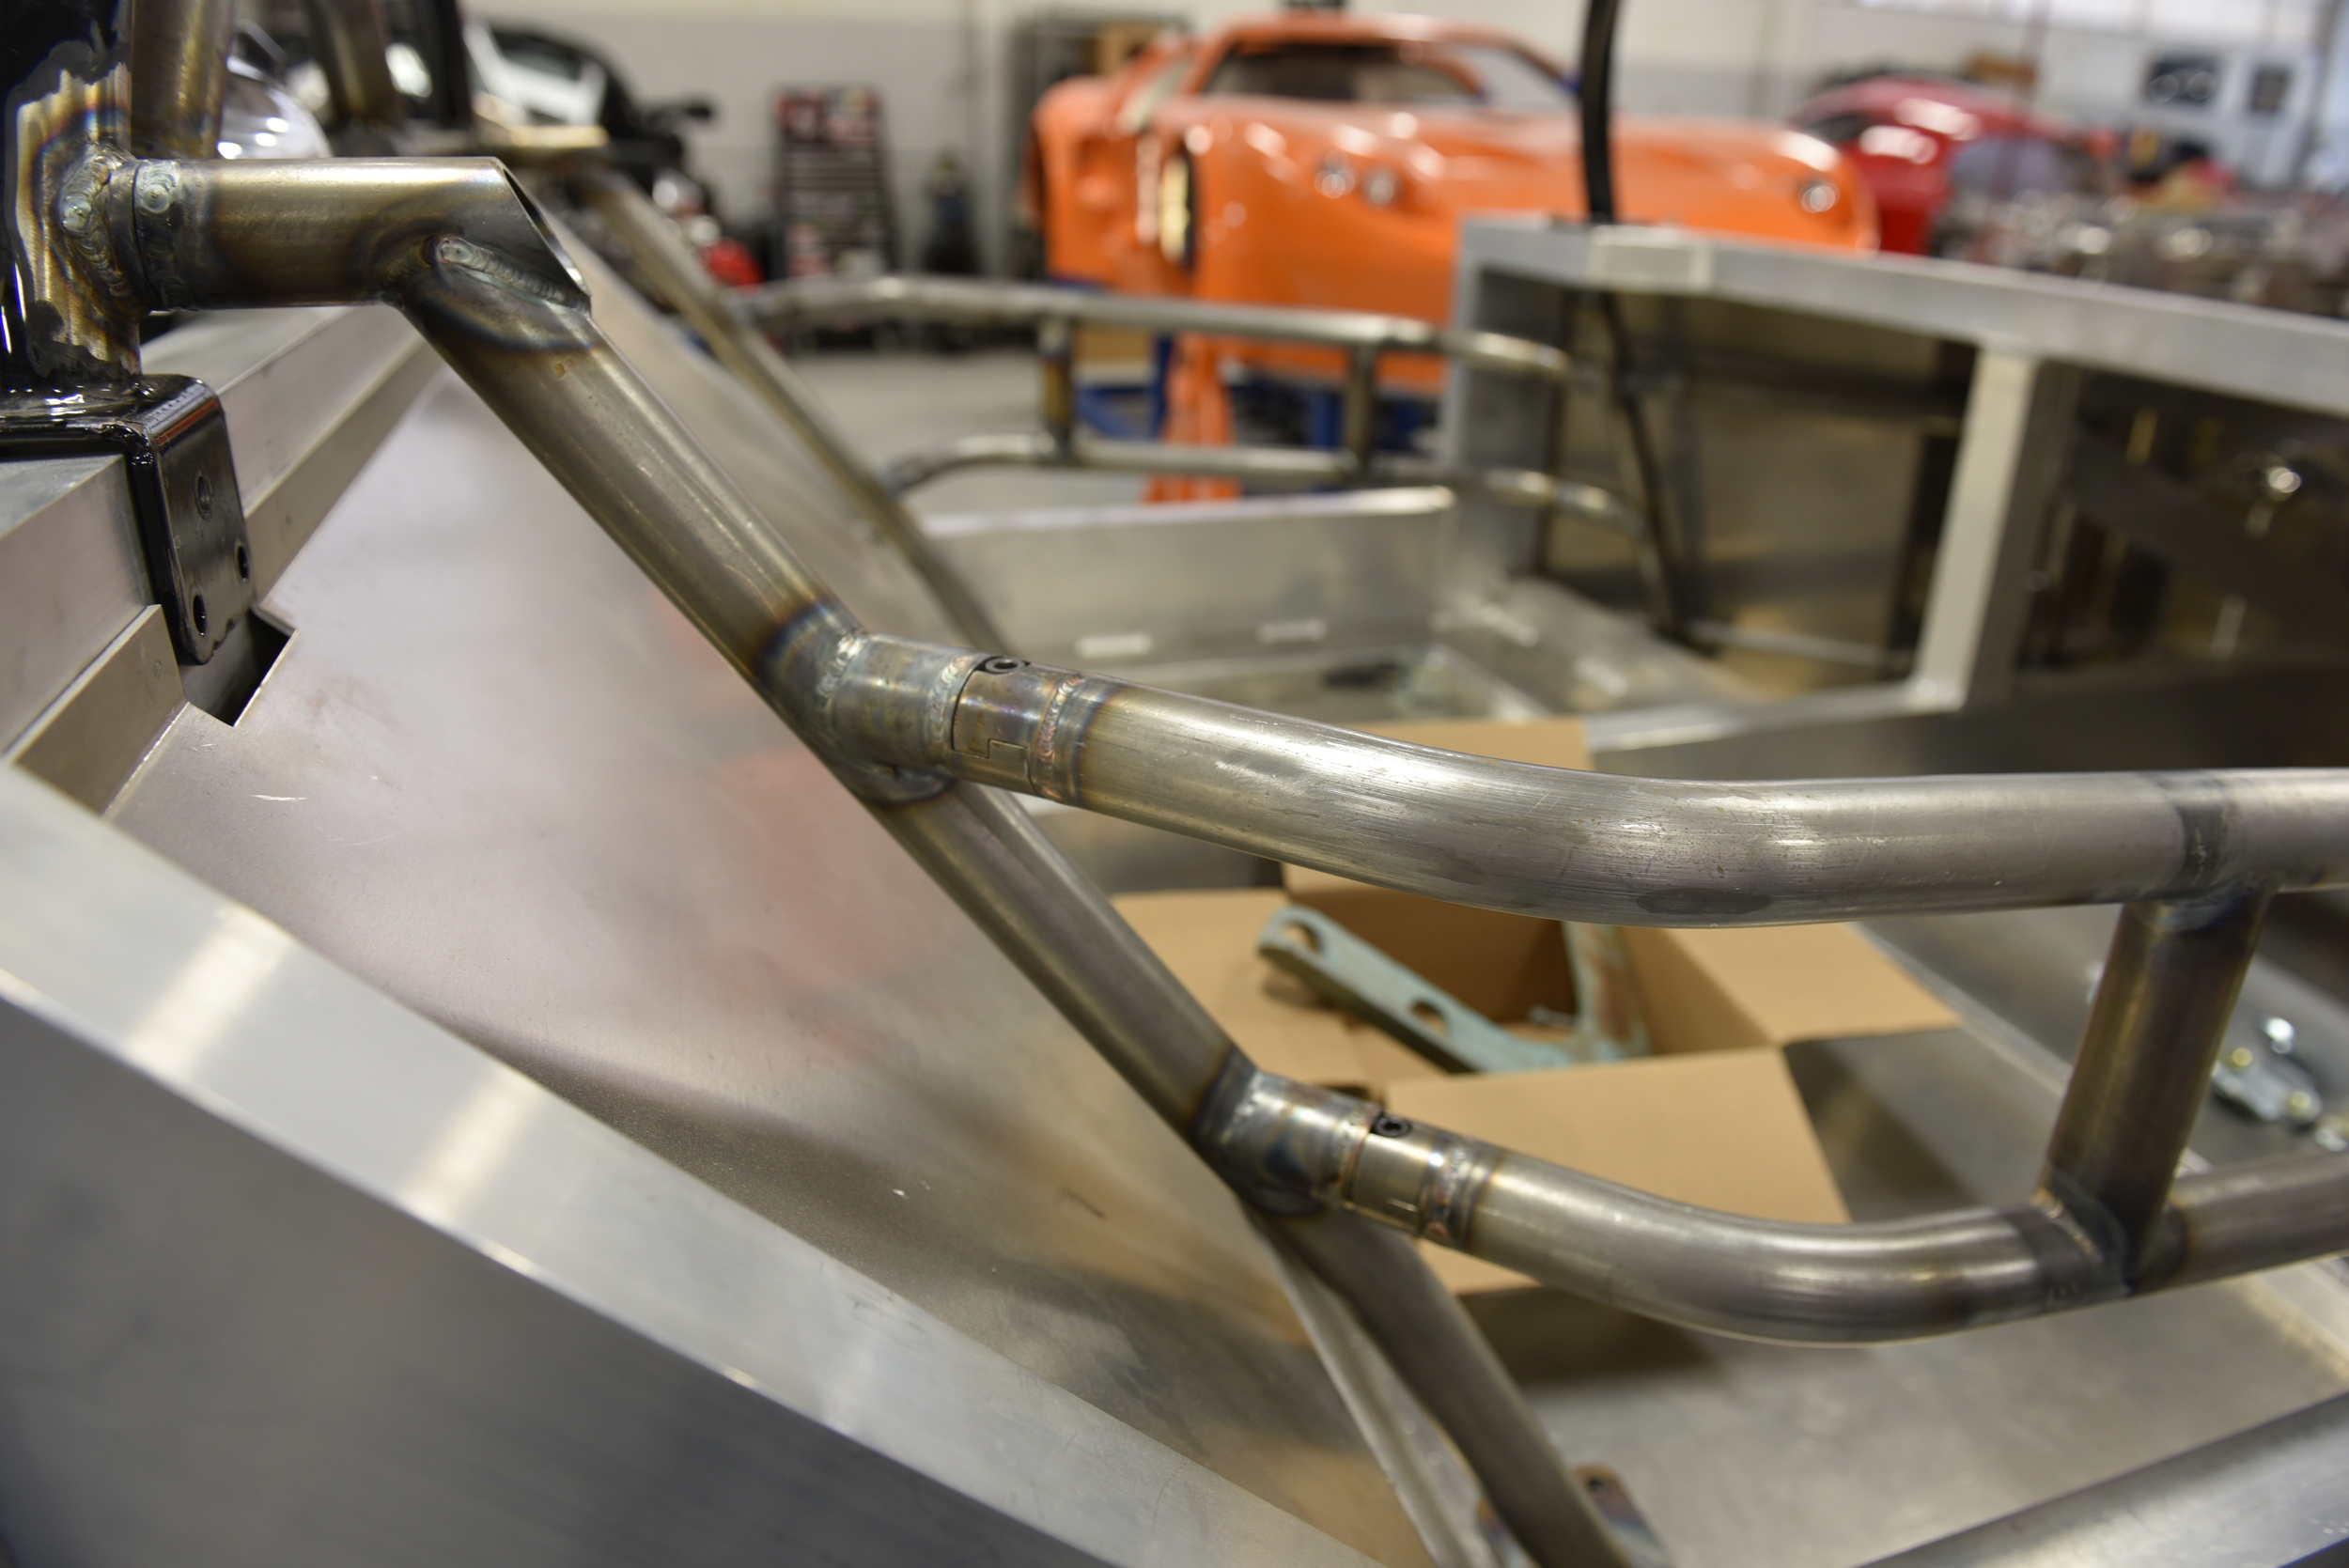
The chassis comes with a six-point cage made from CNC-bent DOM seamless steel tubing. It's really nice, but like most component cars there isn’t any side impact protection. I briefly considered a FIA/SCCA-compliant cage but, but like many full race cages they aren't safe for the street unless both passengers are going to wear a helmet and HANS device at all times. Superlite offers removable side-impact bars that can be installed for track days, but I didn't like how they the attached to the chassis because it wasn't going to give me the OEM interior that I'm looking to create. So, I spoke with Fran and he said he'd see what he could do. I just visited the factory and he really knocked the ball out of the park!
The standard six-point cage can be seen below. It consists of:
the black hoop that bolts the front of the monocoque (2 points)
the two black roof bars that connect the windshield and main roll hoops
the black hoop that bolts to rear of the monocoque (2 points)
the two round, plated silver bars that connect the top of the rear roll hoop to the 2"x 2" frame in the engine compartment (2 points)
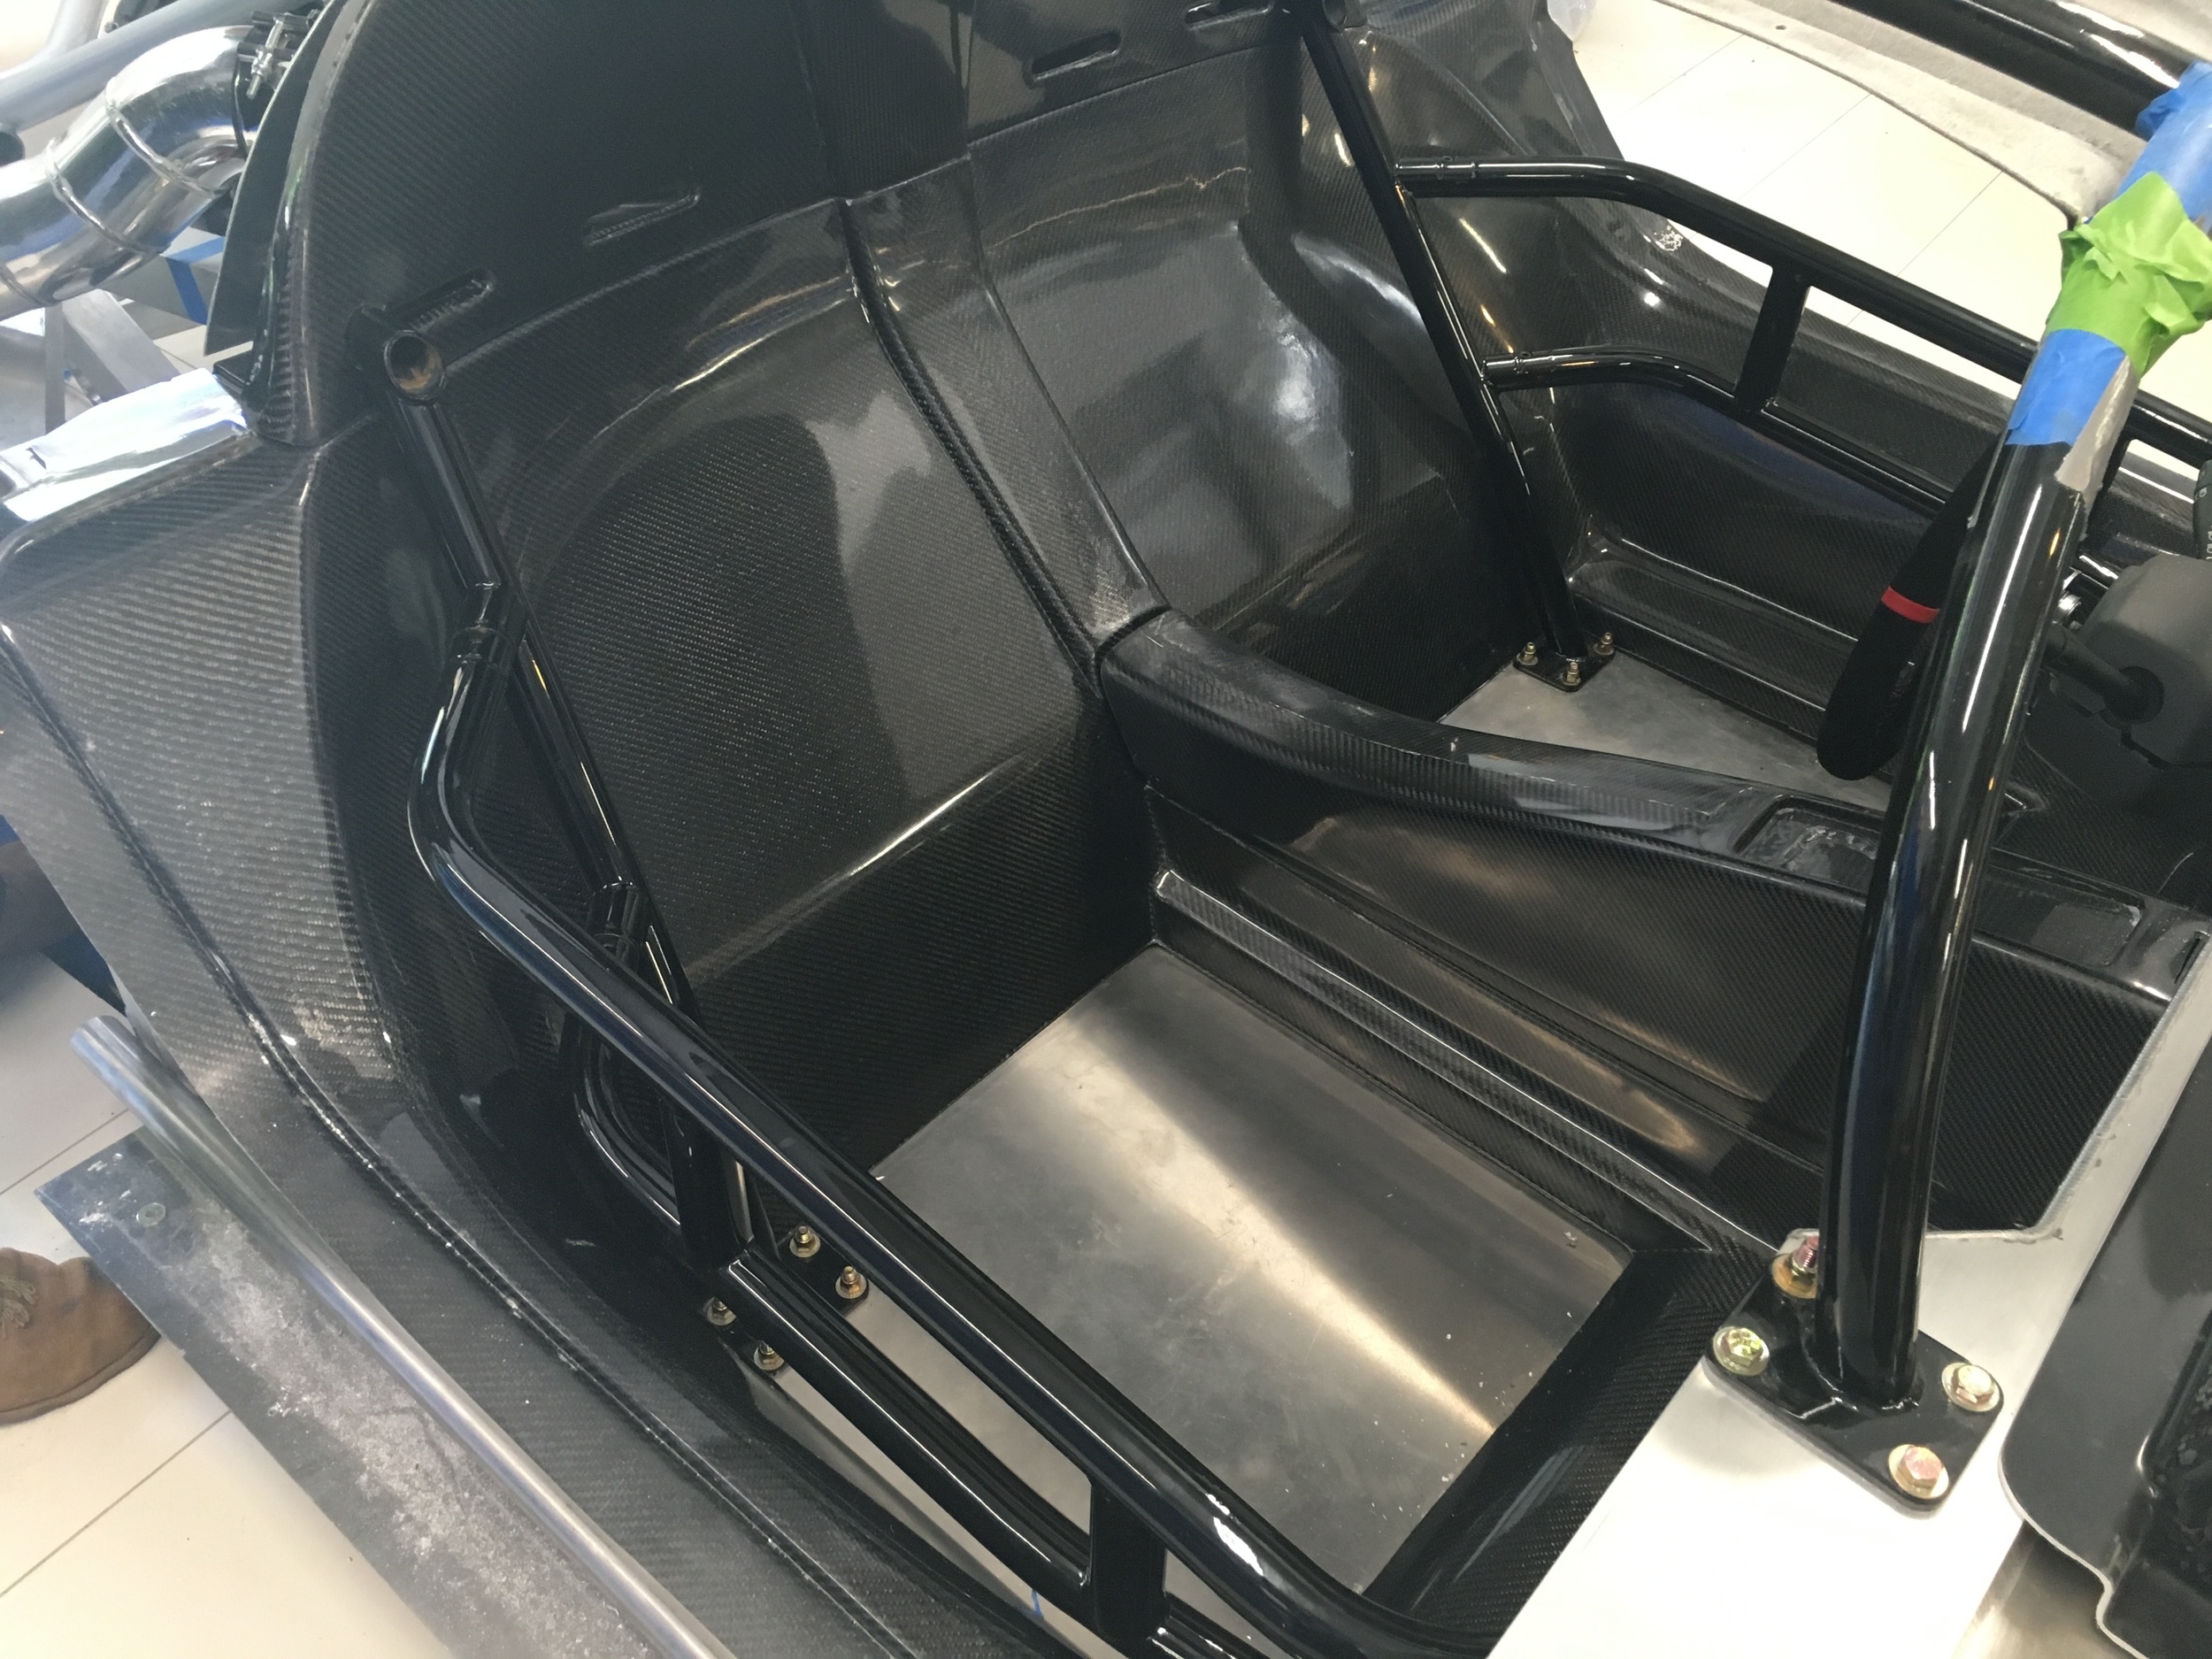
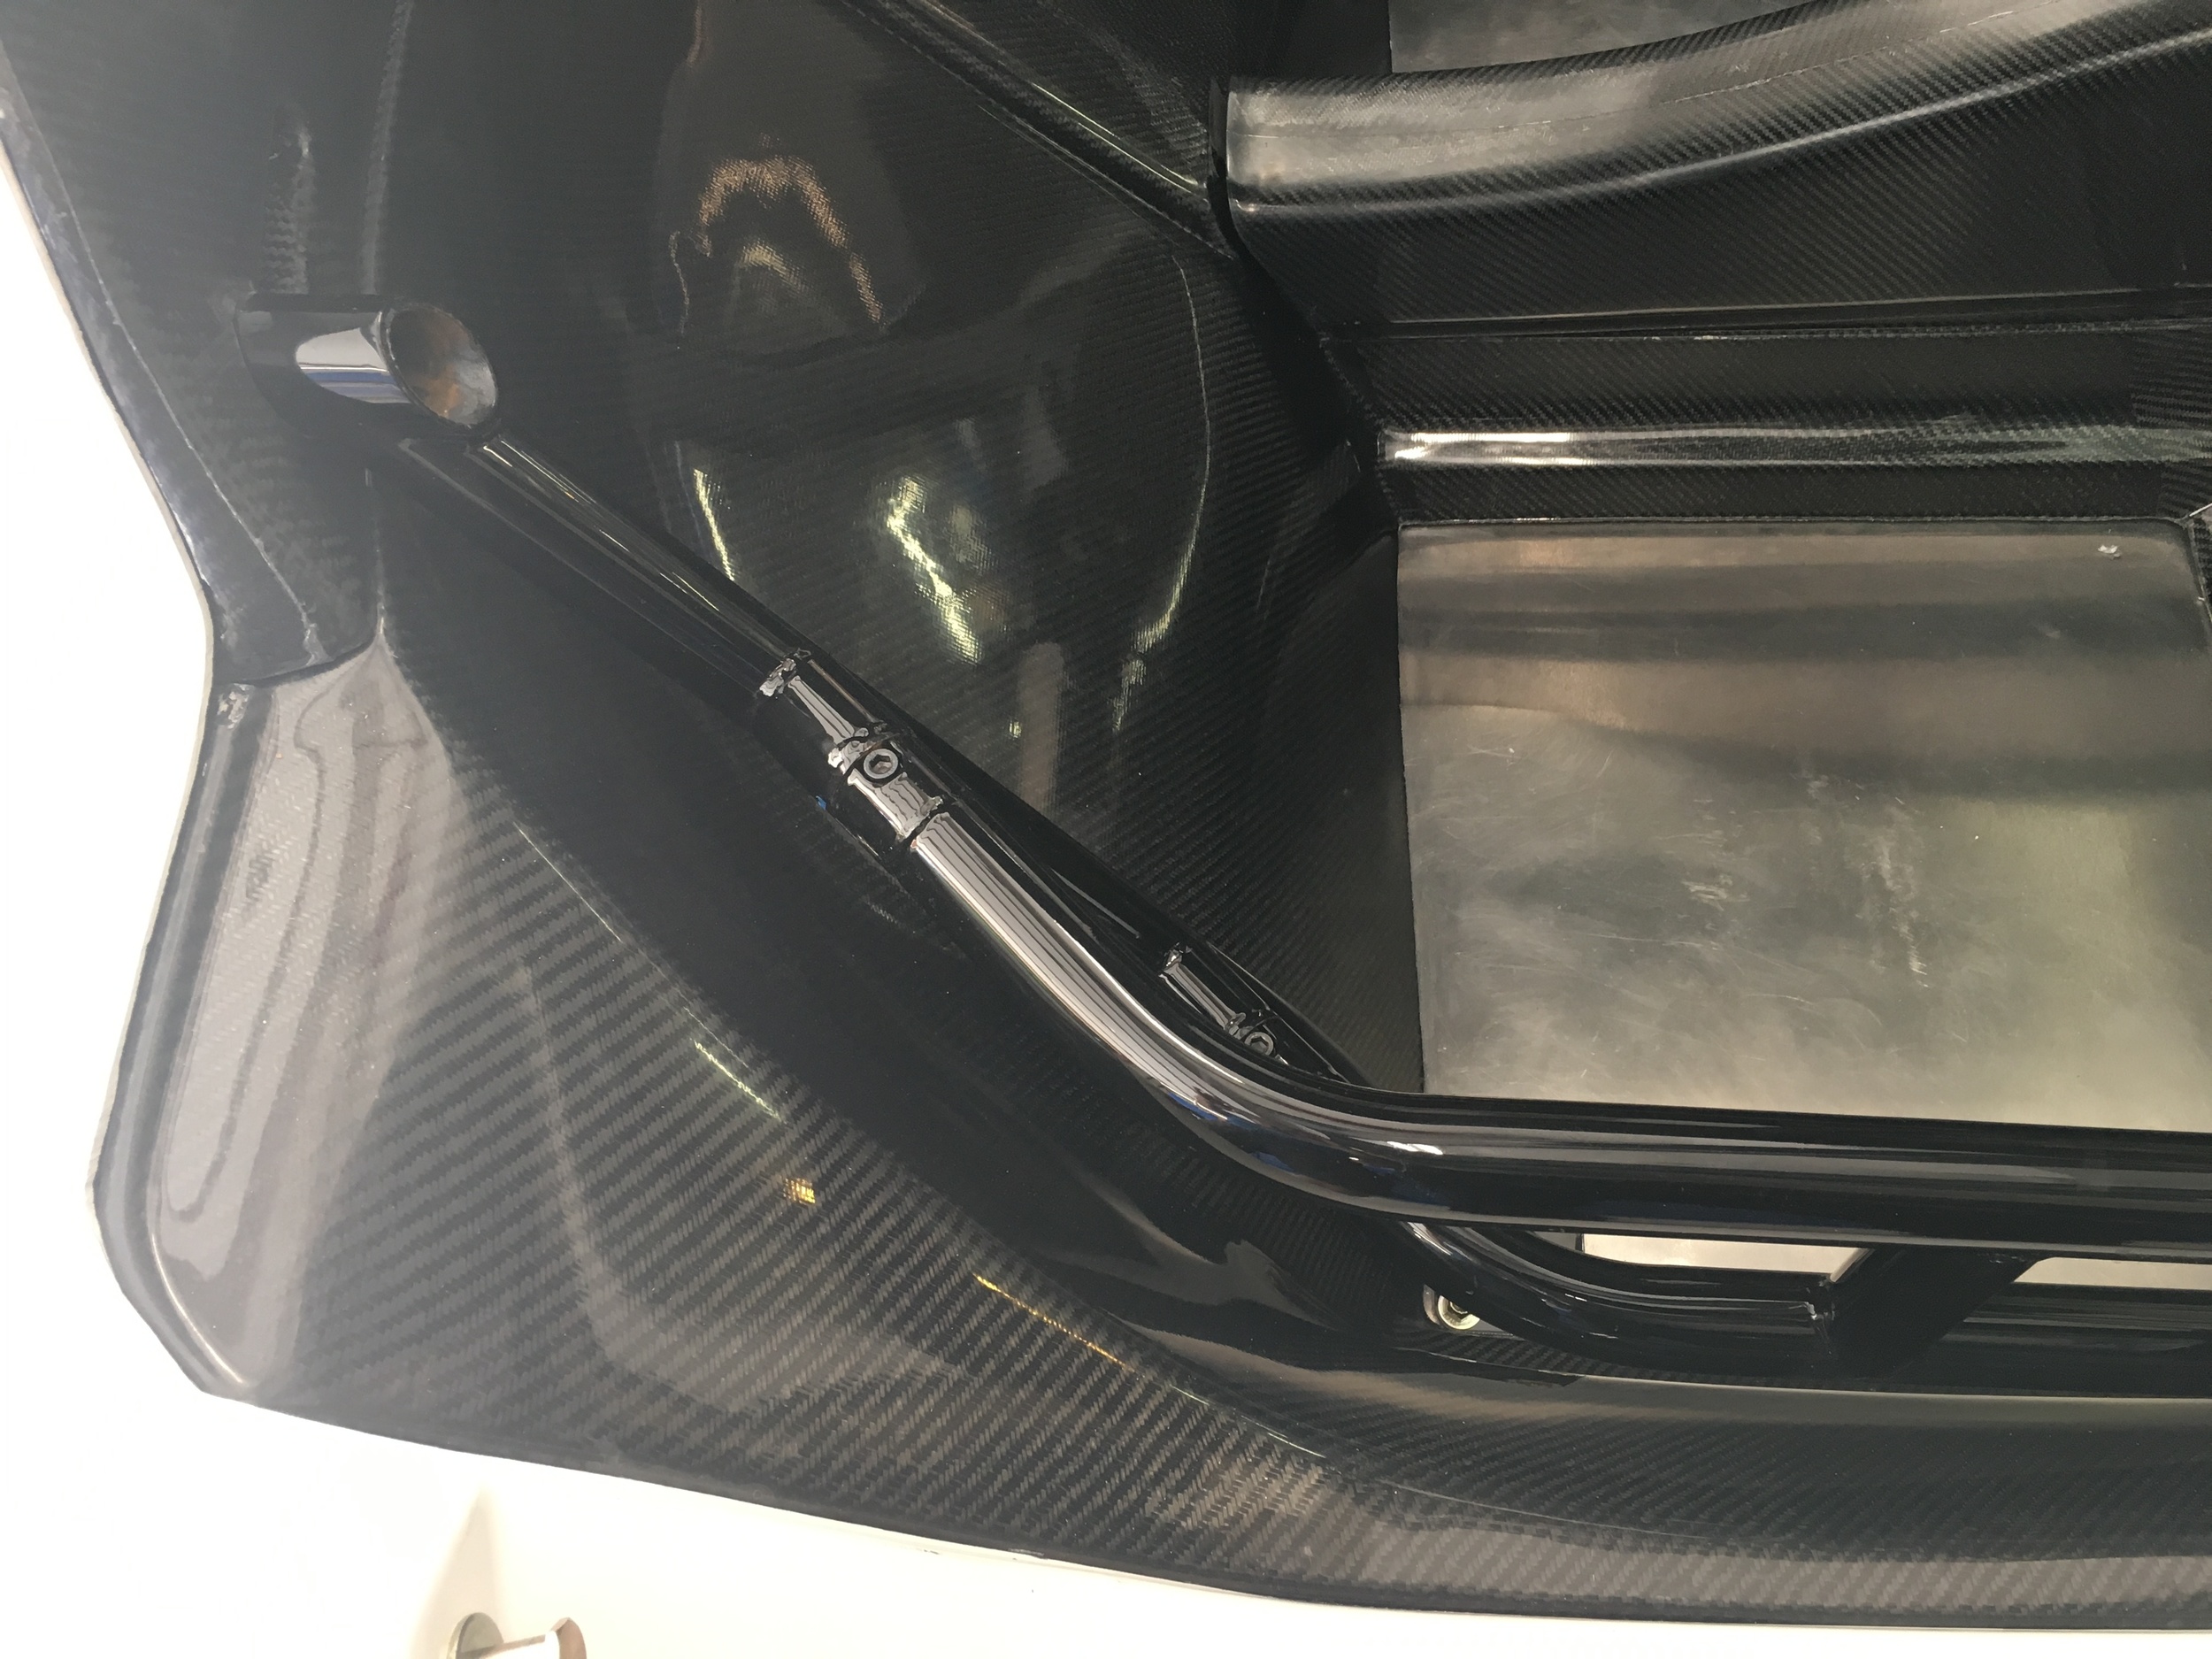
The removable side-impact bars are the round, bare steel tube structures in the door openings. In the picture below you can see the side-impact bars with Superlite's signature TIG welds. Unlike my welds, no grinding is required! The trick is to make it removable and to not interfere with the carbon fiber cockpit tub. This is achieved by tedious and skilled fitment, welding and use of high-quality interlocking tube clamps.

The innovation for my car was to make the rear attachment point such that nothing would protrude through the cockpit tub. In the picture below you can see where the horizontal tube is connected to the rear hoop with a Grade-8 bolt. This isn't as strong as the original design, but it meets my objectives for a street/track car. It provides significant protection and will result in a simple hole being drilled into the tub. I will have to figure out a nice plug to fill it when the side-impact bars are out.
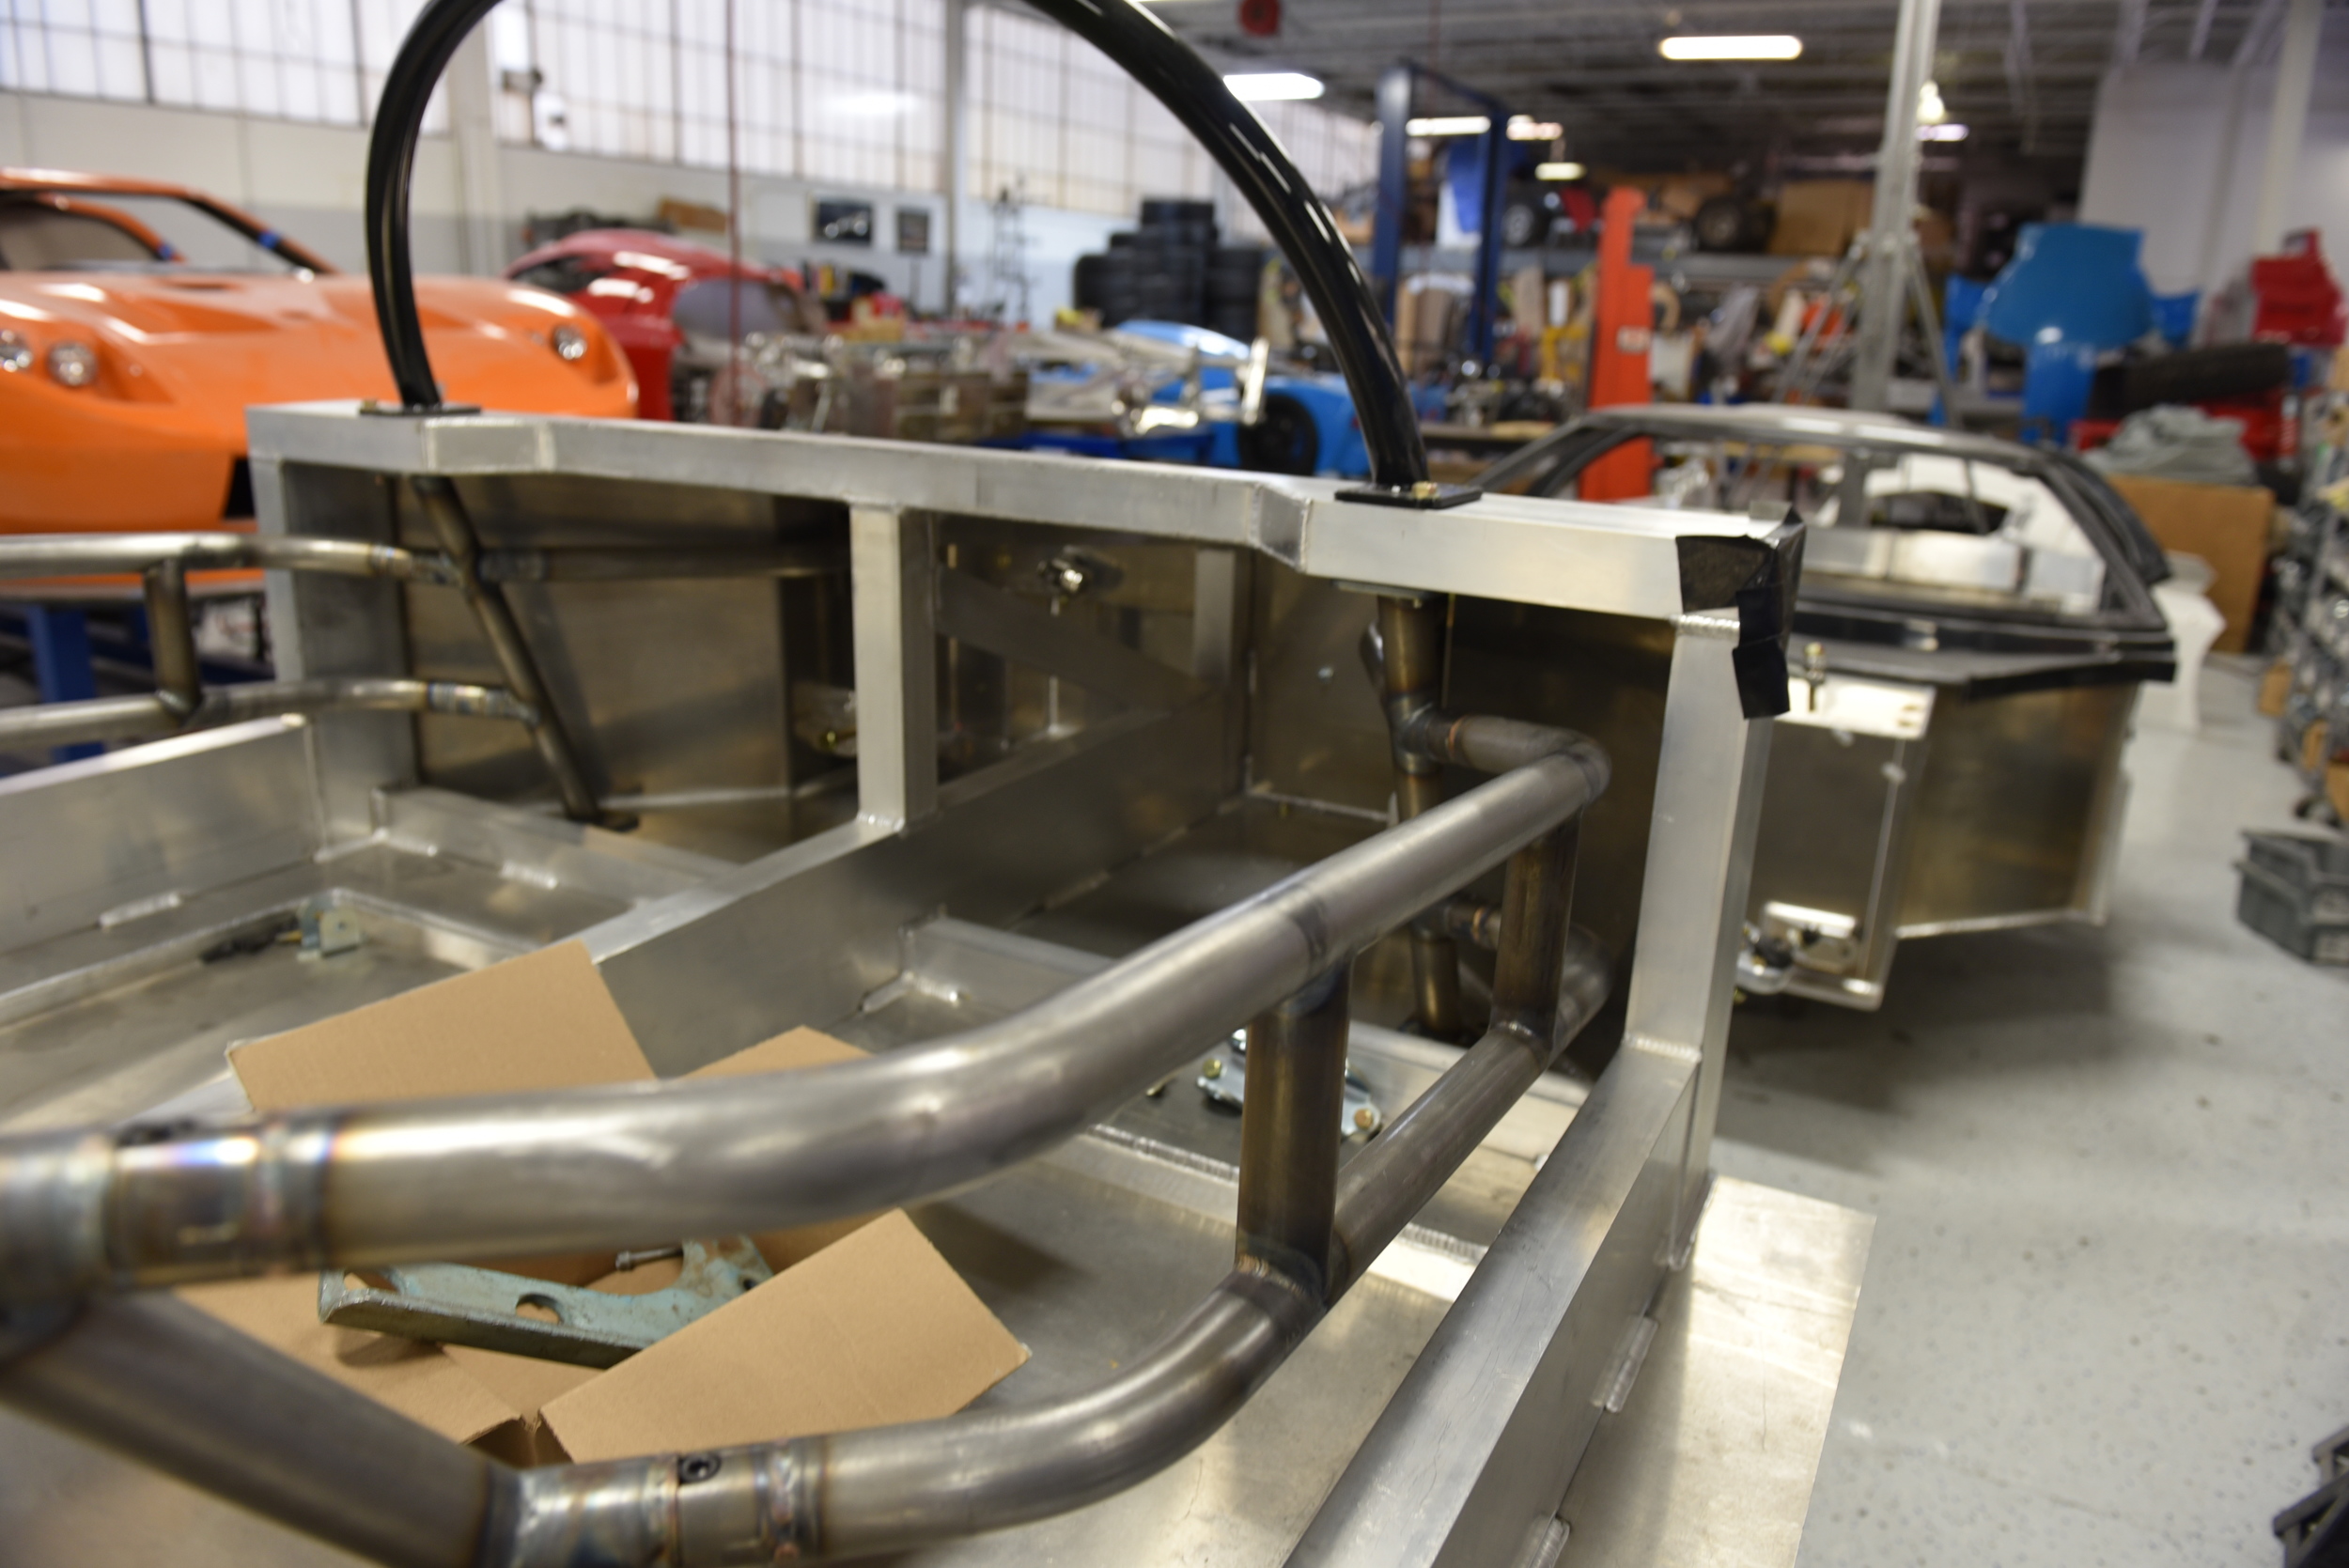
In the picture above you can see how front of the side-impact bars are tied into the windshield roll hoop. All of this makes an already incredibly stiff chassis even stiffer.
The car has arrived, here are some pictures of what the cage and side impact bars look like after they have been powder coated and the carbon fiber interior tub has been installed.
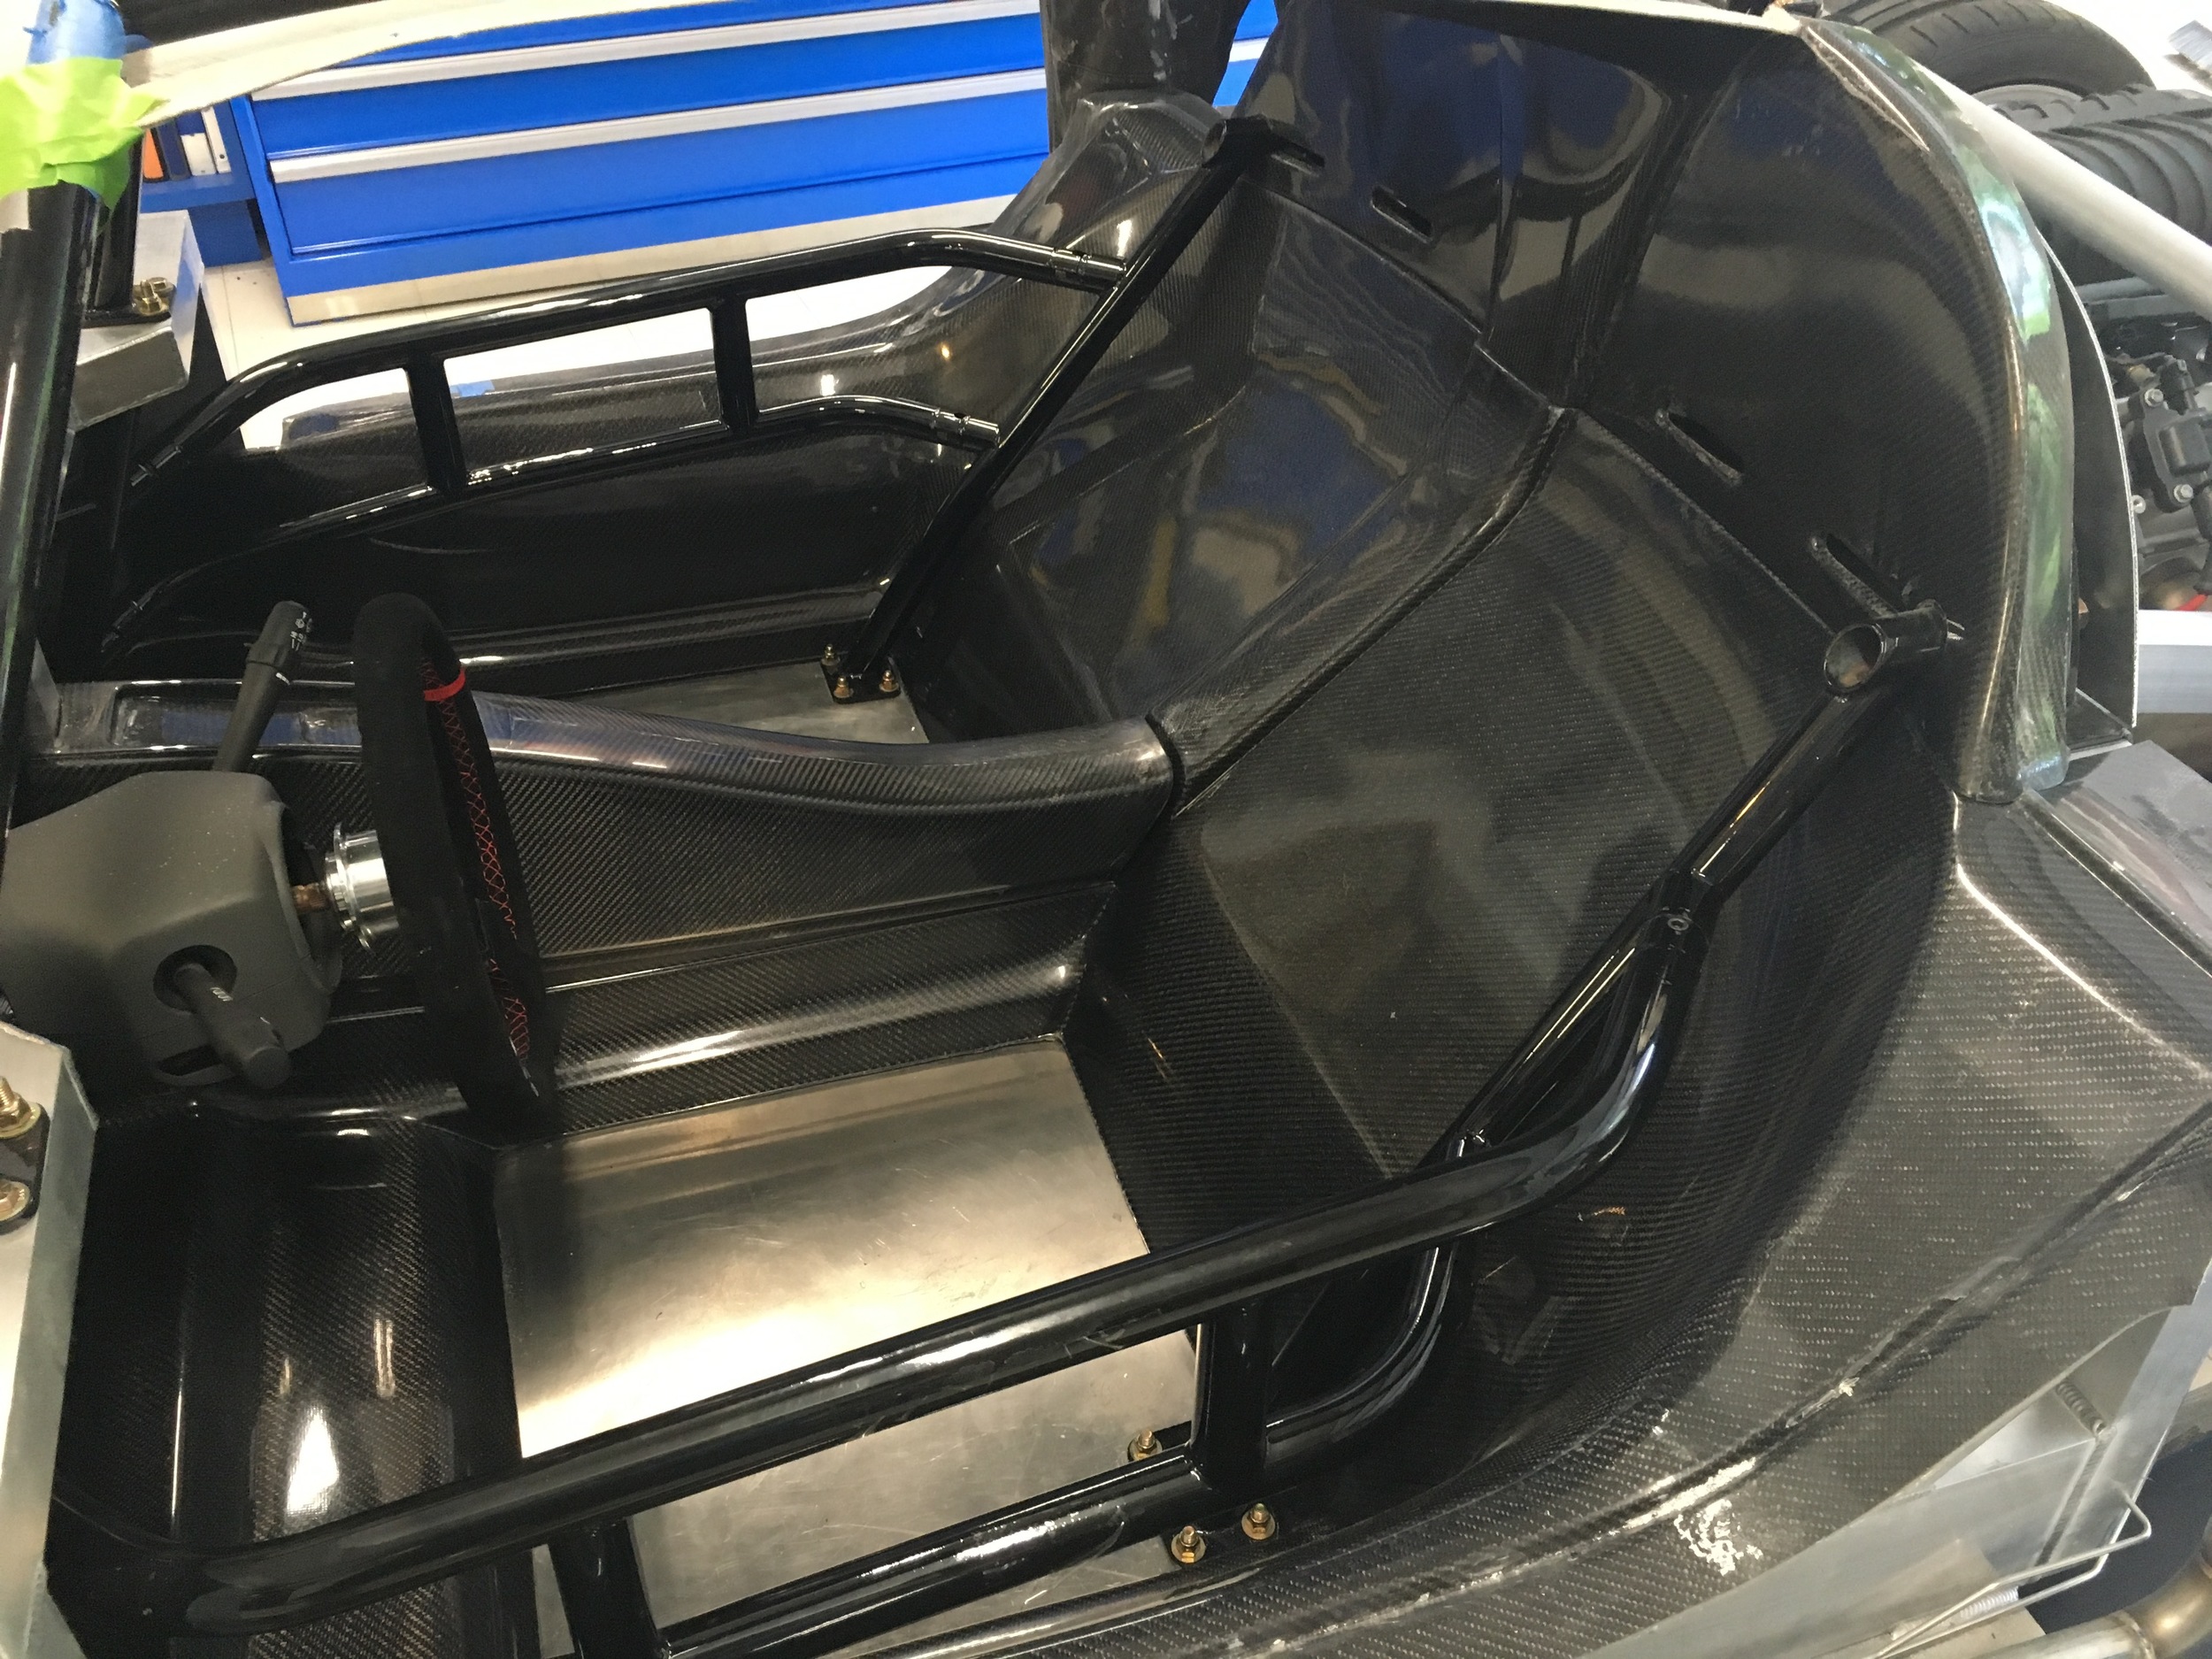

I also designed an end cap to cover the connectors when the side impact bars are removed. They are 3D printed in Onyx (tough nylon with chopped carbon fiber) with a 10% fill density.