I spent of time a lot of time time working on the stock cooling system. I upgraded the fans, made a shroud and spent a lot of time designing 3D-printed brackets to mount the condenser. I was really impressed with my brackets until another builder pointed out that attaching the condenser to the floor wasn’t a great idea because the both it and radiator should be isolated from the chassis. D’oh!
I started doing some research which, in my case, can be dangerous. I decided to start from scratch with the following improvements:
Complete vibration isolation
Higher quality core
Slightly larger core
Move inlet from bottom of core to top
Move outlet from top of core to bottom
Move the bleed port from the high-pressure to the low-pressure side
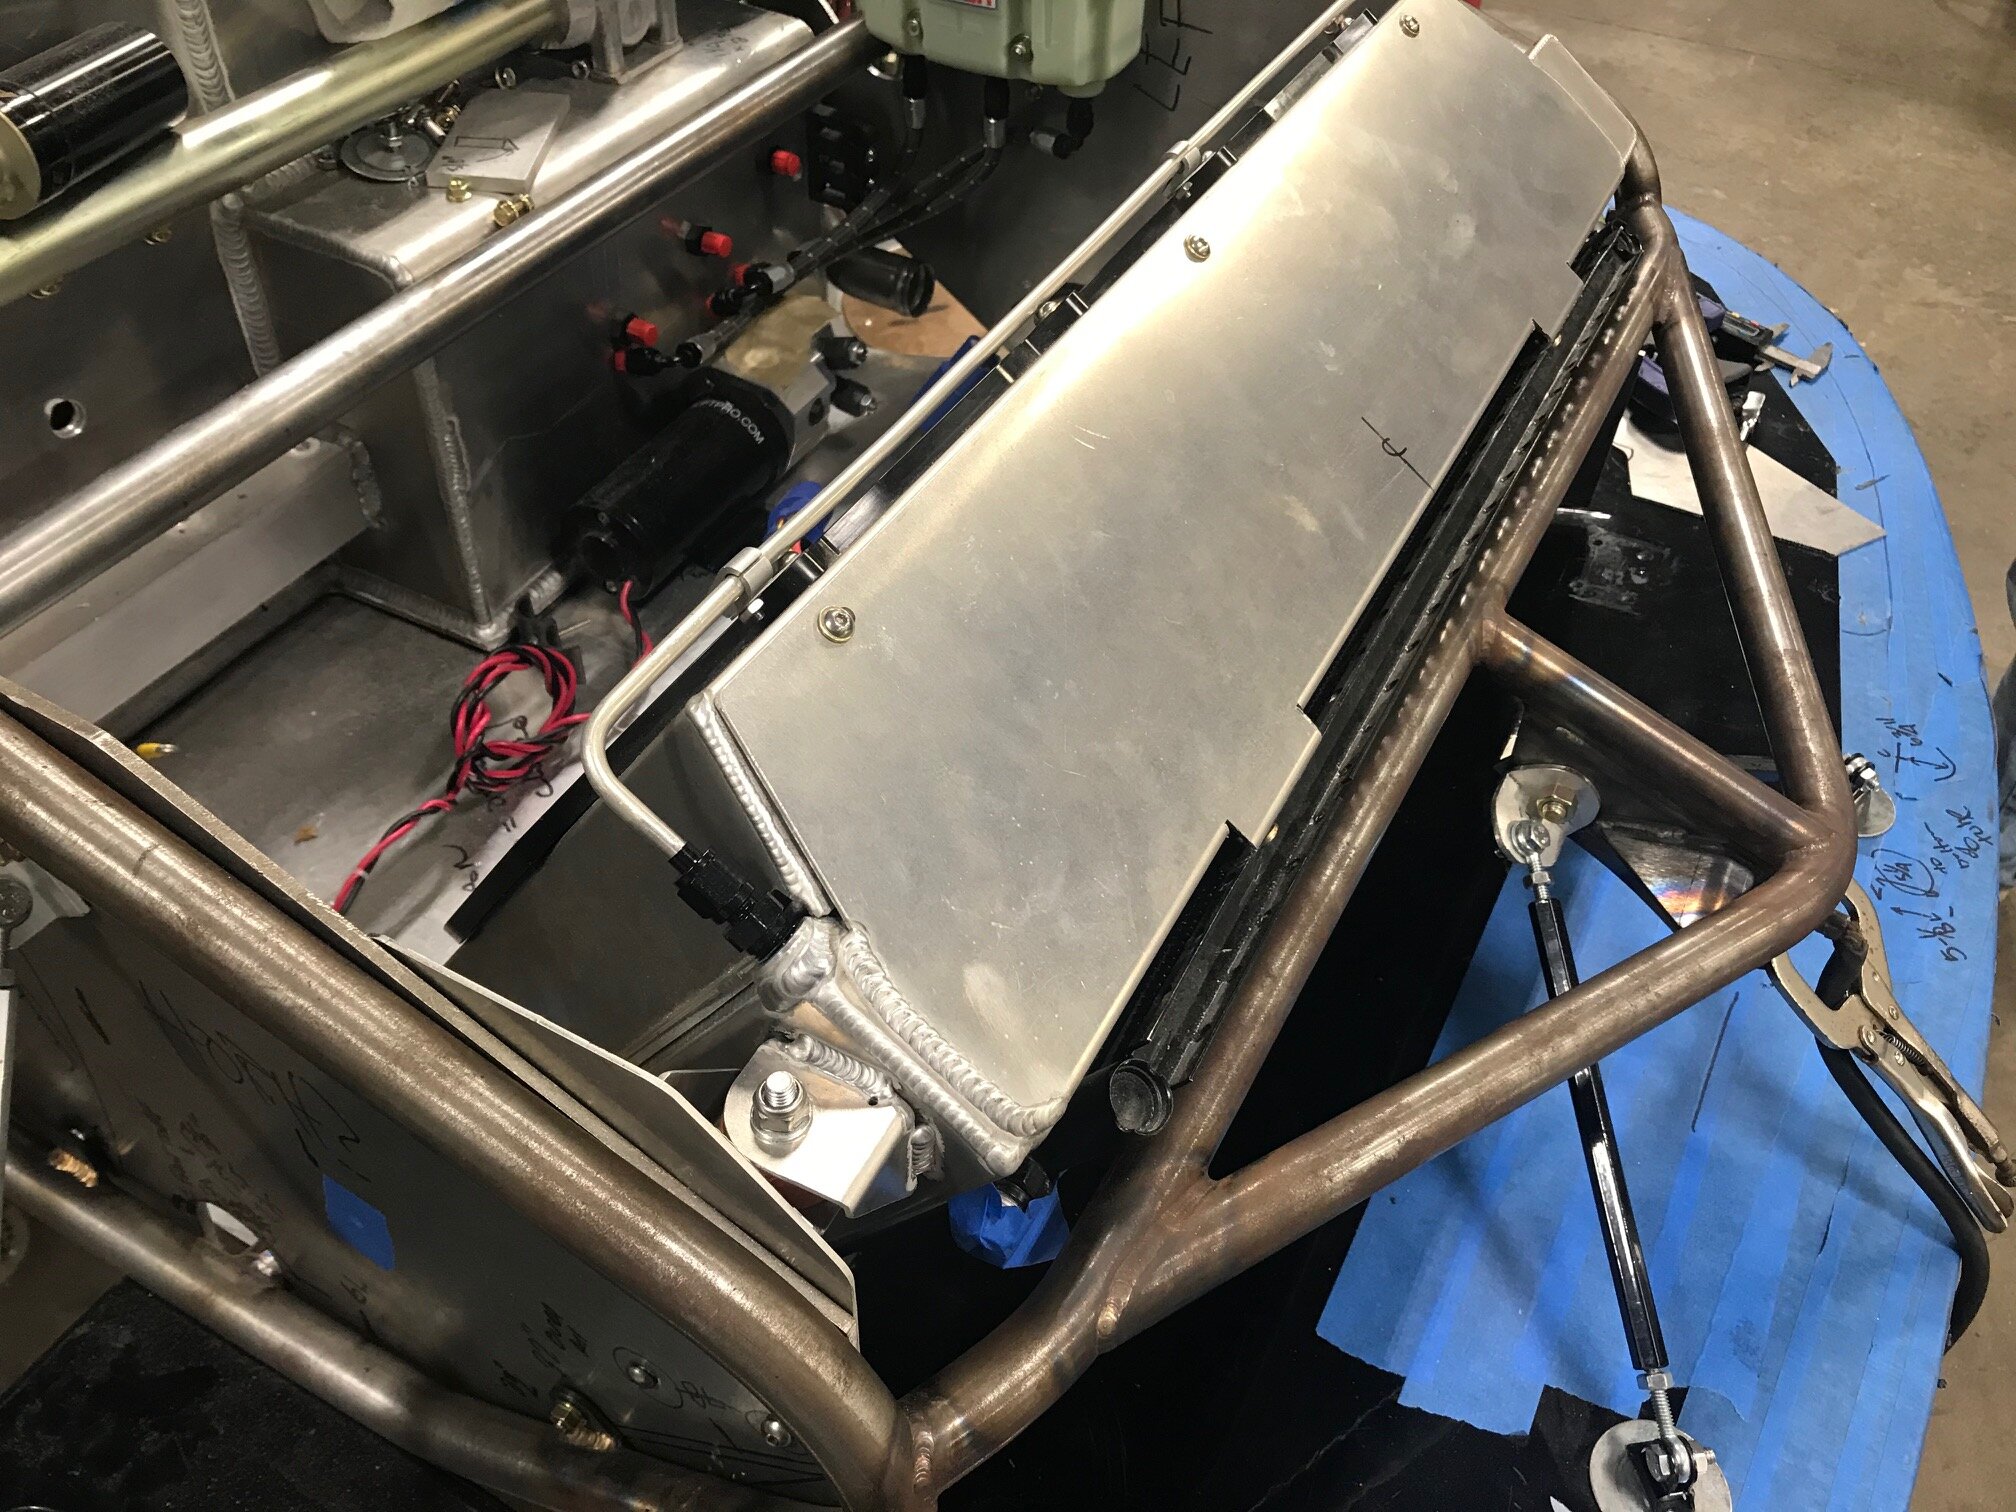
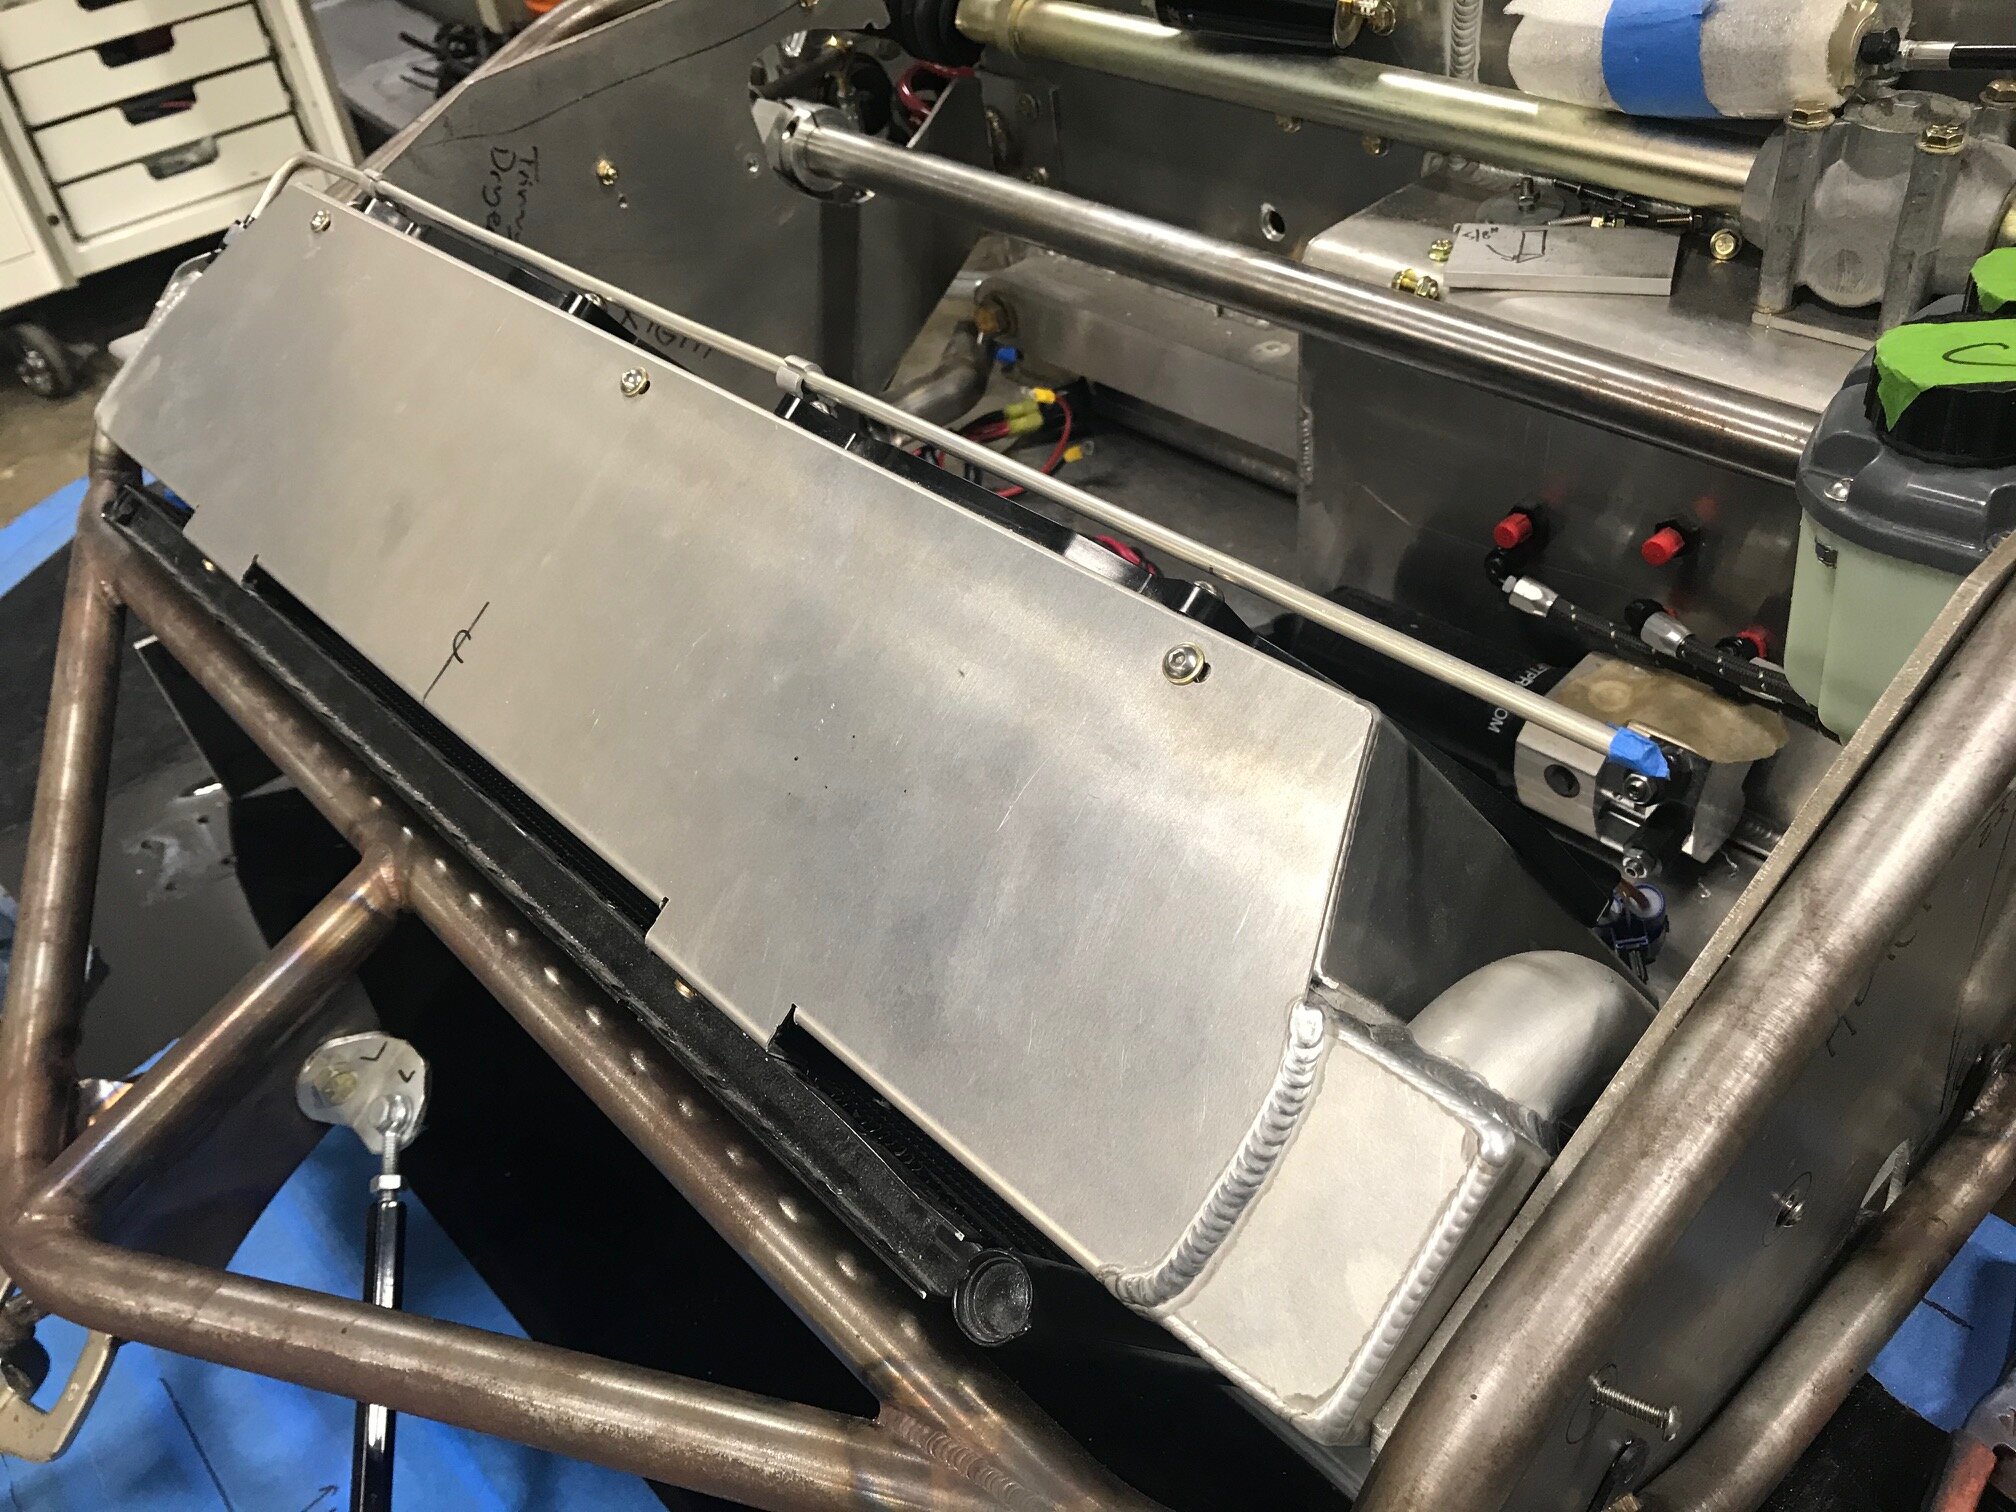
Air-tight shroud with proper spacing from radiator
Highest quality fans available
Integrated mounting tabs for the condenser
Hard tube from bottom of radiator to inlet at the top
No brass parts
Vibration Isolation
Isolation dampers; stock/black ones on left, new/red ones on right
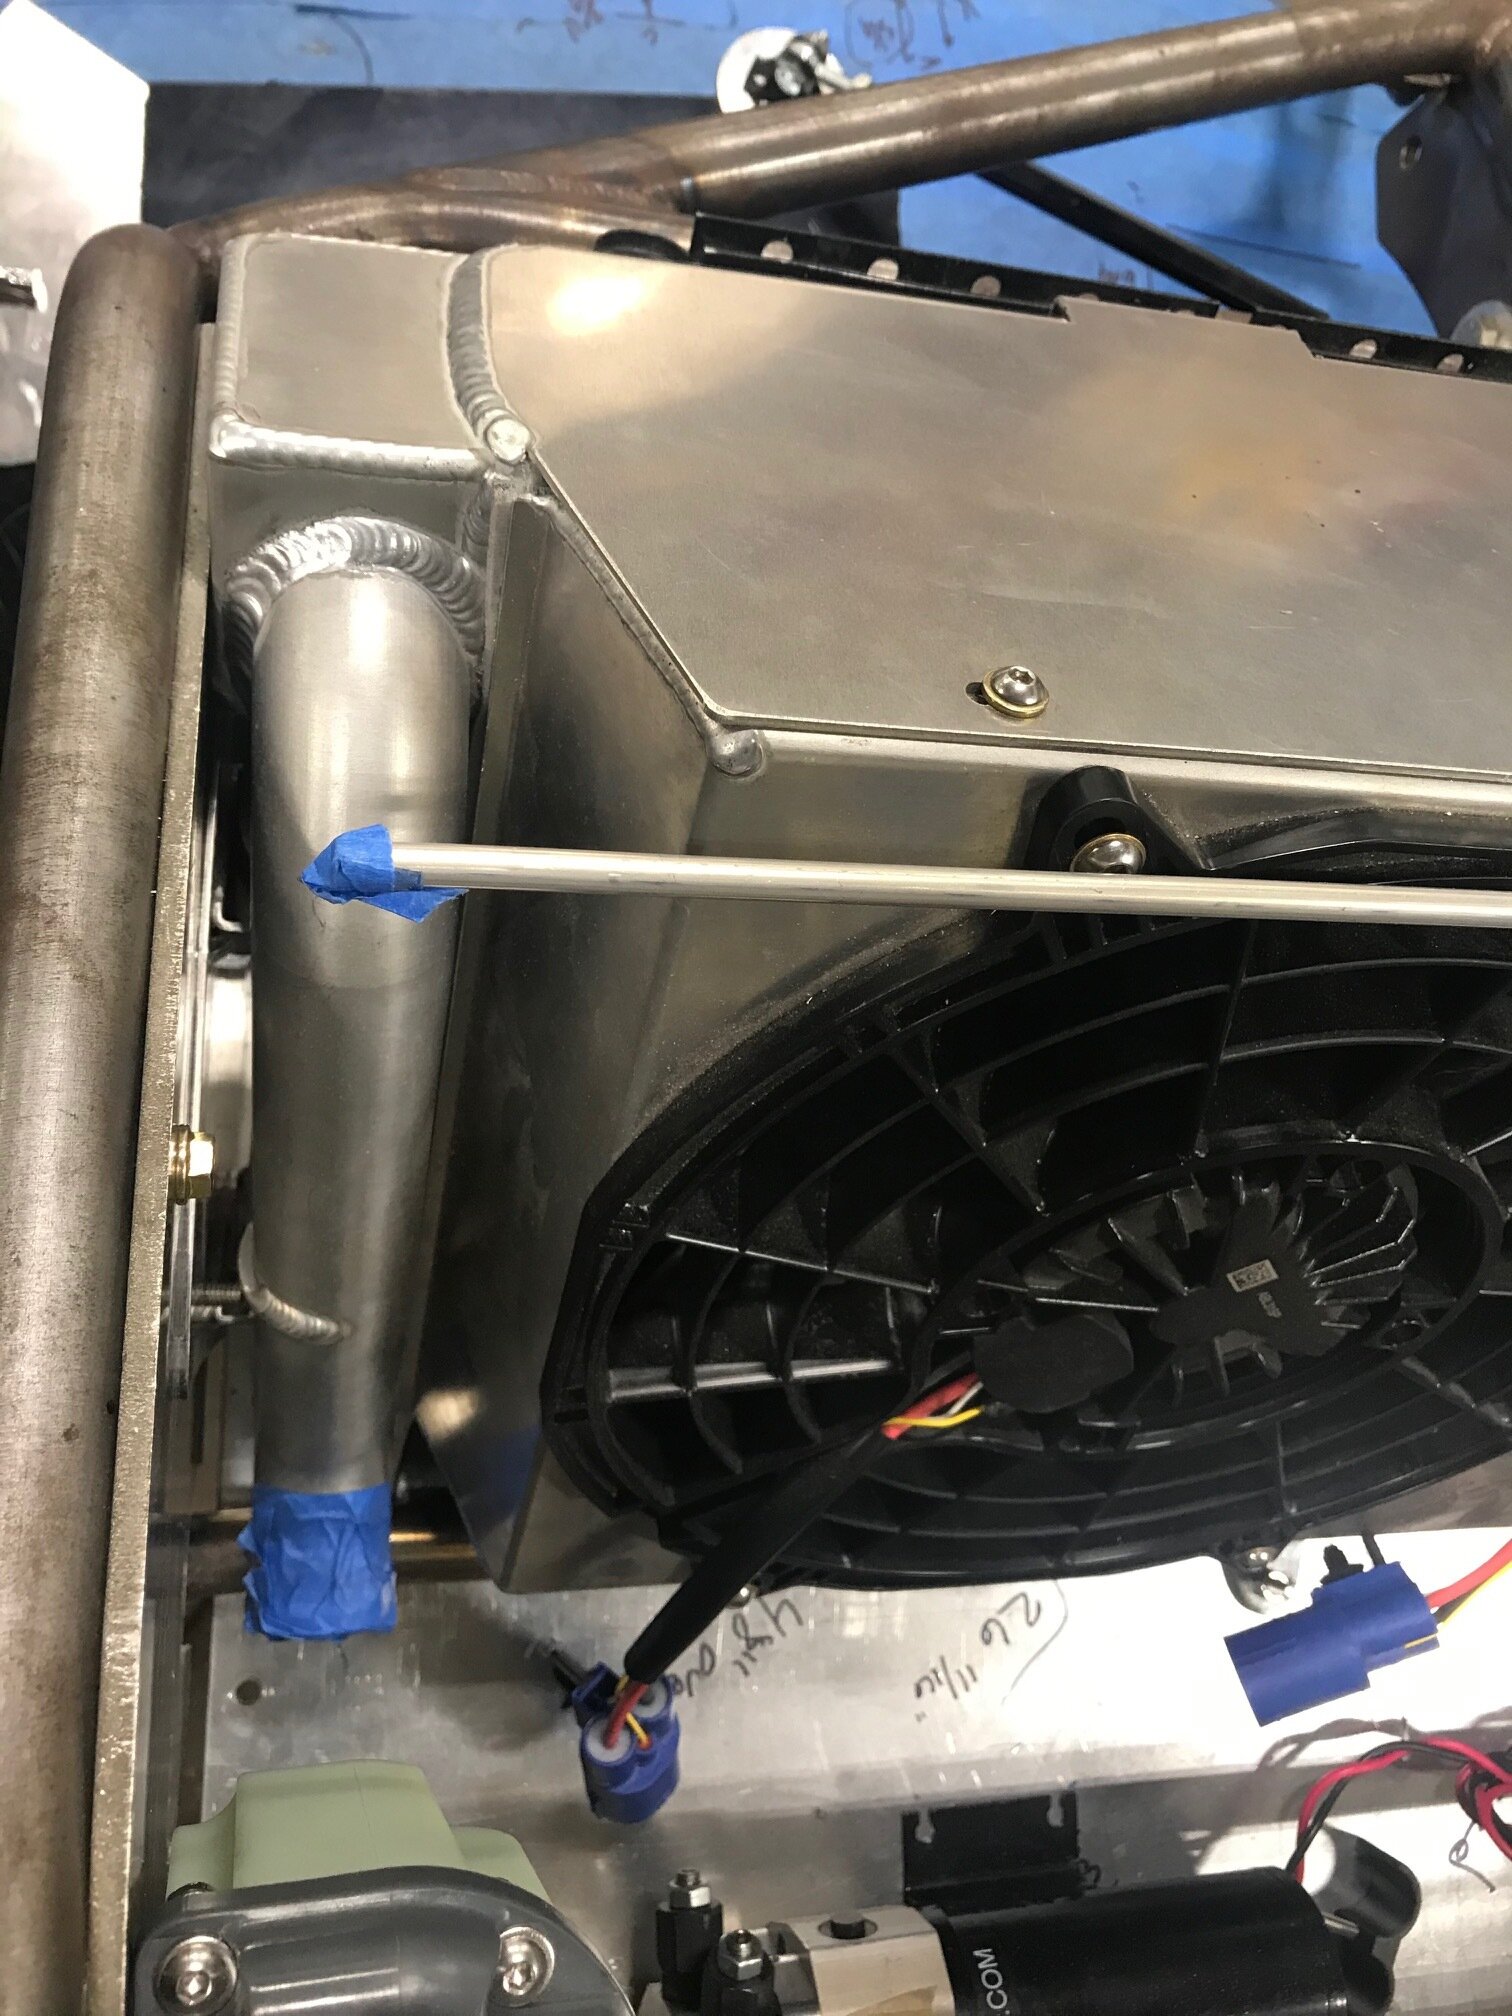
The stock radiator was well made, but it was jammed so tightly between the vertical supports that it was almost a stressed member and the provided grommets were laughable. My solution was to support the new radiator with two vibration-sandwich mounts per side. The picture compares the stock grommets (black) on the left and sandwich mounts on the right (red). Now, you’re probably thinking that the large mounts will reduce the size of the core. Well it just so happens that side tanks don’t need to be wide to be effective. In fact, they can be a lot narrower than the OD of the 1.5” inlet and outlet tubes. As can be seen in the picture the picture below, the side tank is narrow at the top to accommodate the mounts, but wider at the bottom to support the outlet tube. This approach results in a wider core than the stock radiator and reduces weight (the smaller tank uses less aluminum and stores less water). The downside to this approach is that it costs more to fabricate and it’s more difficult to prevent air from slipping around rather than through the radiator.
C&R Racing
Will and I visited C&R Racing’s booth at SEMA and we were impressed. They are the same guys that made the radiators for the Raver cars and for Howard and I found them to be professional and good to work with. After filling out a form to specify the requirements we went through several CAD iterations. They spec all dimensions and every part down to the washer. I’m ordering heat exchangers from them for air-to-water intercooler.
Fans
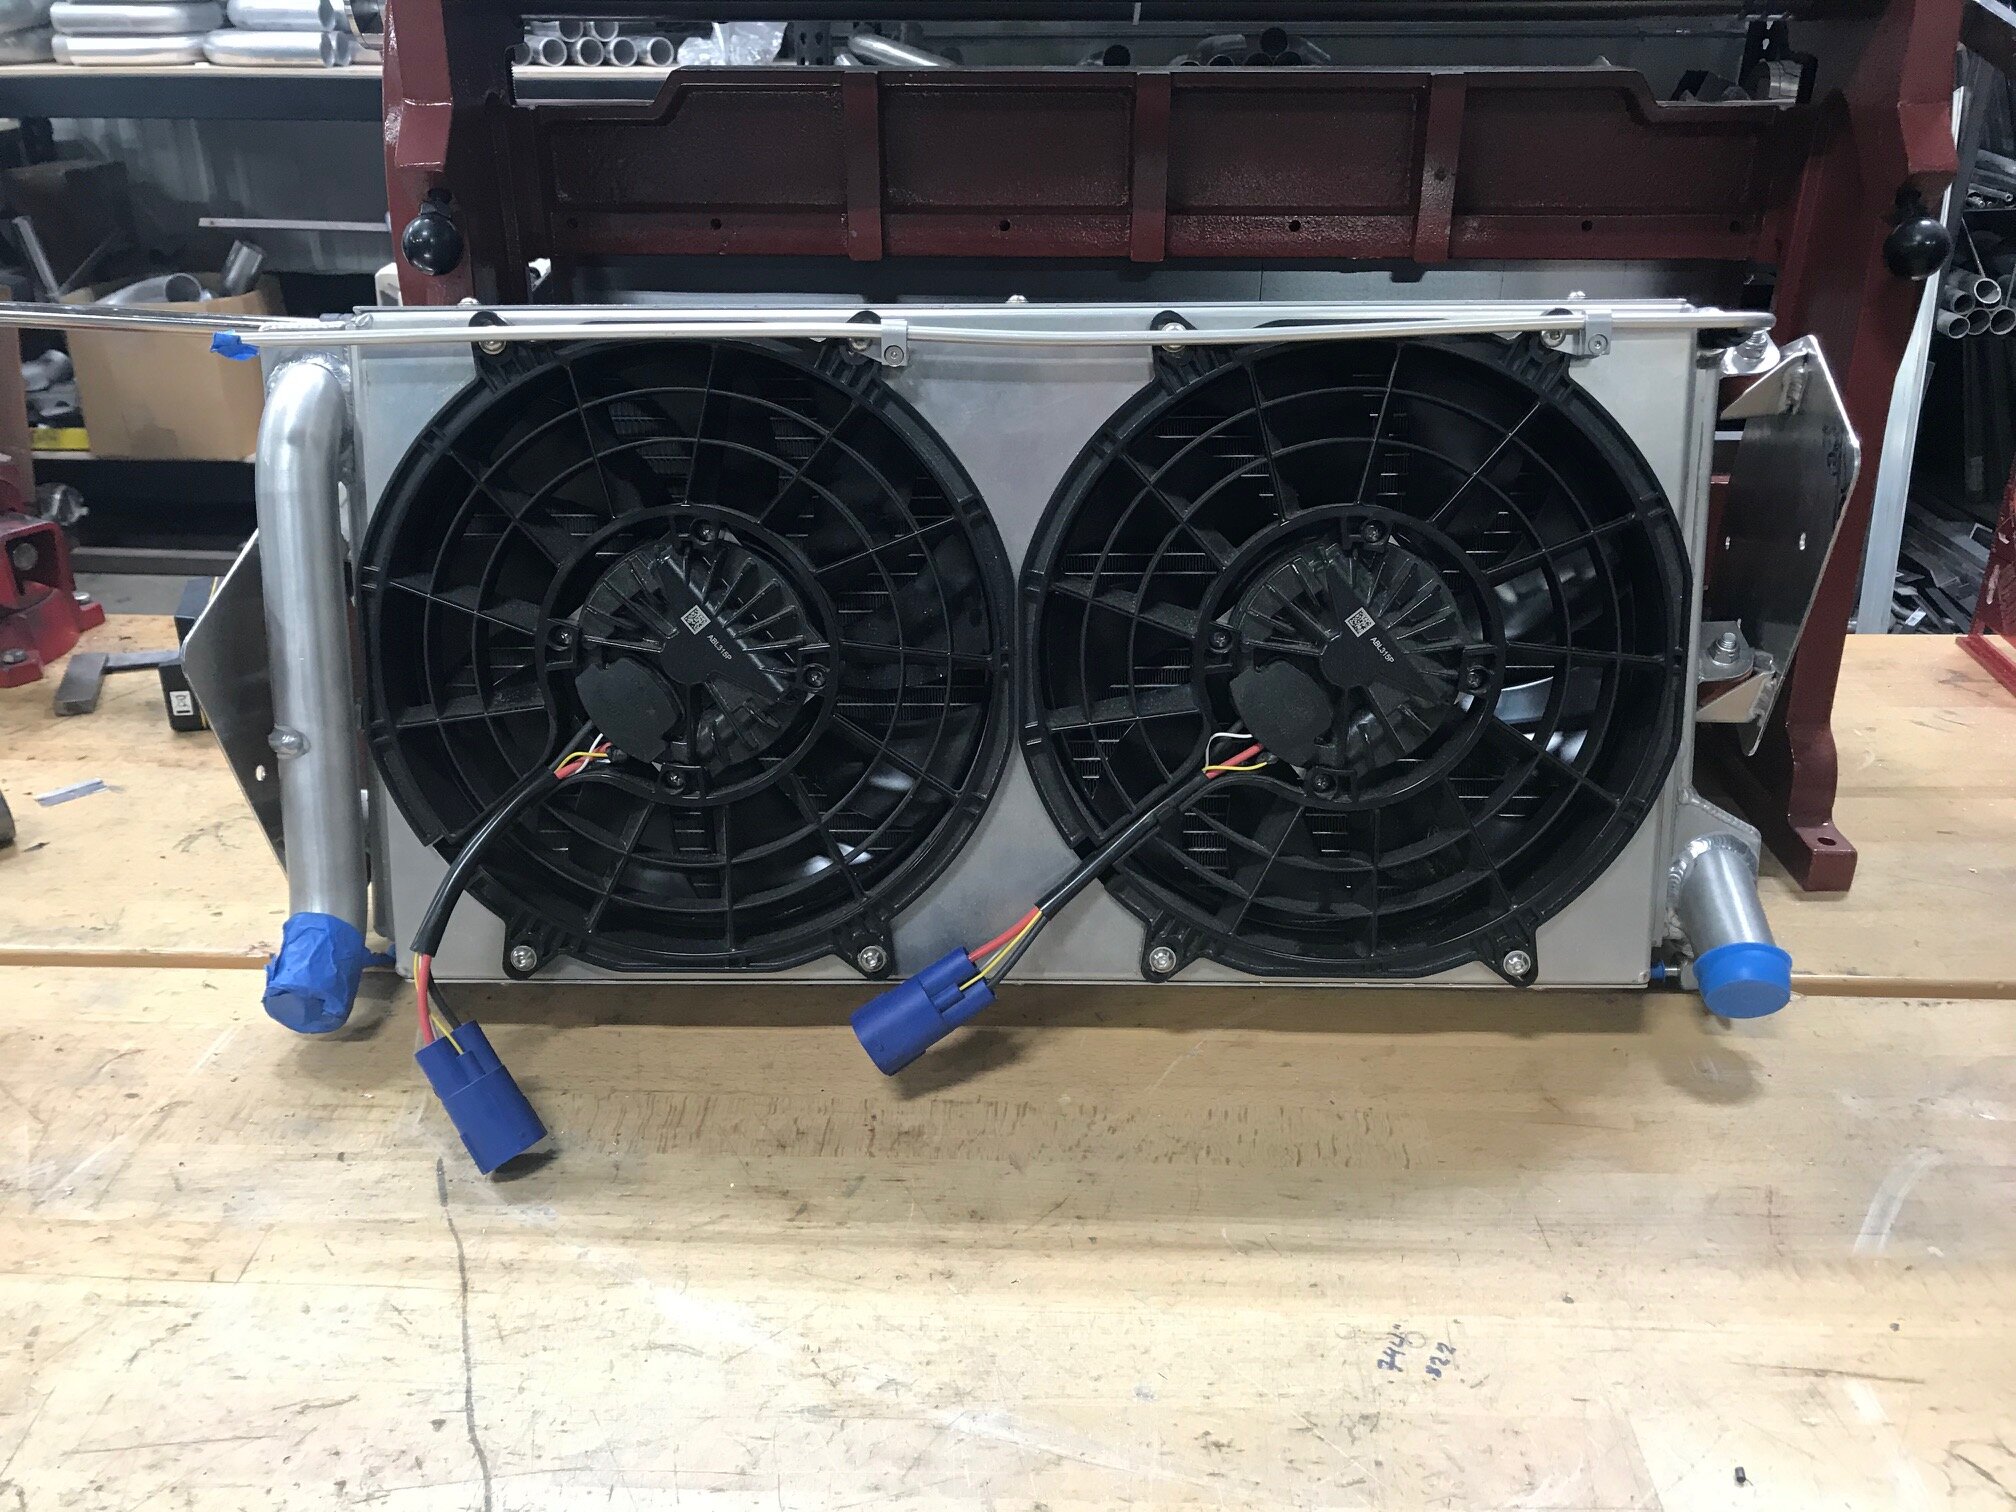
C&R recommended SPAL 11” brushless ABL315P drop-in fans. They are the highest performance fans that Spal provides, but there isn’t much information on them as they are only available from resellers who bundle them with a fan shroud (see spec sheet below). Bundling makes it difficult to figure out the actual cost of the fan, but it appears that they cost a little over $400 each. You’ll also need something to control the fans which in my case will be MoTeC.
The drop-in-style fans result in really nice packaging. I’ve wondered if they should have put a couple of flaps in the shroud, but I assume they know exactly what they’re doing. If not, I’ll send the shroud back to them to have flaps installed.
The stock radiator has a brass drain cock which promotes electrolysis in aluminum. I replaced it with a zinc-plated steel drain cock which will be connected to a drain tube drilled through the floor.


