
The dancing wing that I videoed in the last blog post will generate over 800 pounds of force which will crack the body. So, I need to design and build a stable dance floor. With the event of CAD, not all work on the car needs to be done in the garage so I took some photographs and quick measurements before I left for vacation.
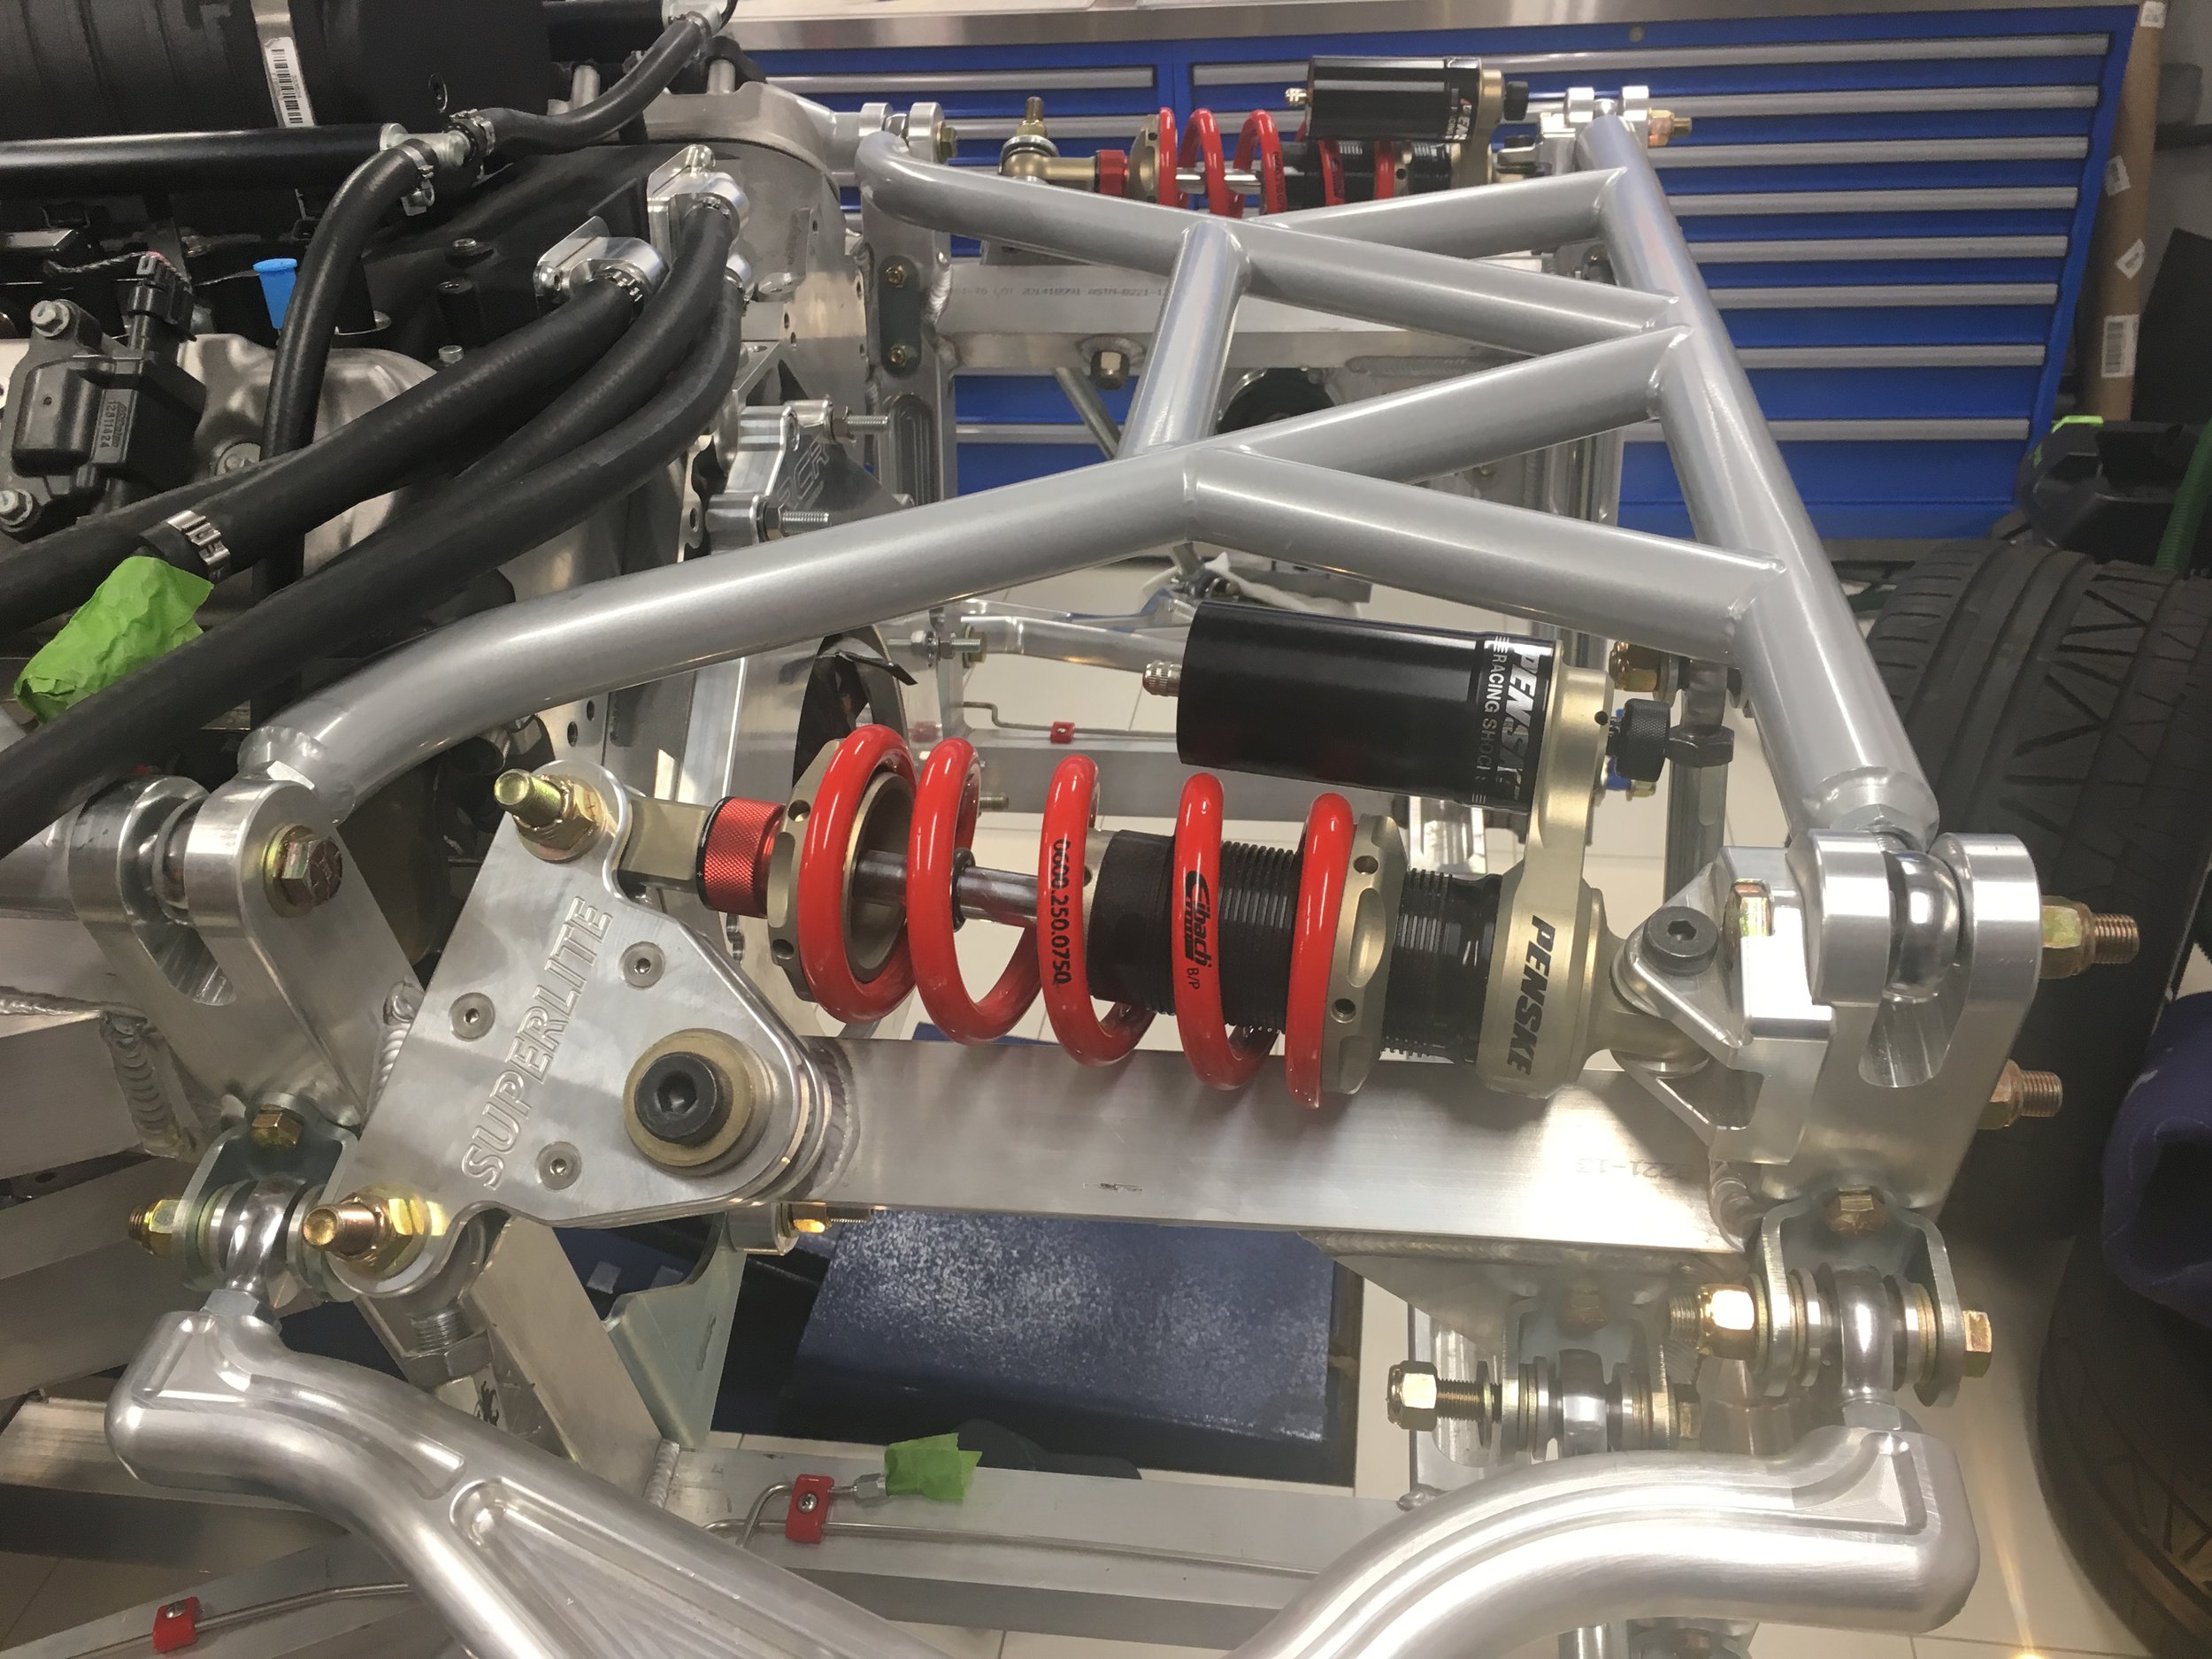
Fortunately the rear suspension cross brace, per the SCCA rule book, is made of 1.5" x 0.125" wall Drawn Over Mandrel (DOM) steel tube which is perfect for welding brackets. The two design priorities are strength and adjustablility. Oh yeah, and it must look cool... my wing deserves just as nice a floor as Travlota had, but I think I'll skip the lights.

Mounting plate & cover
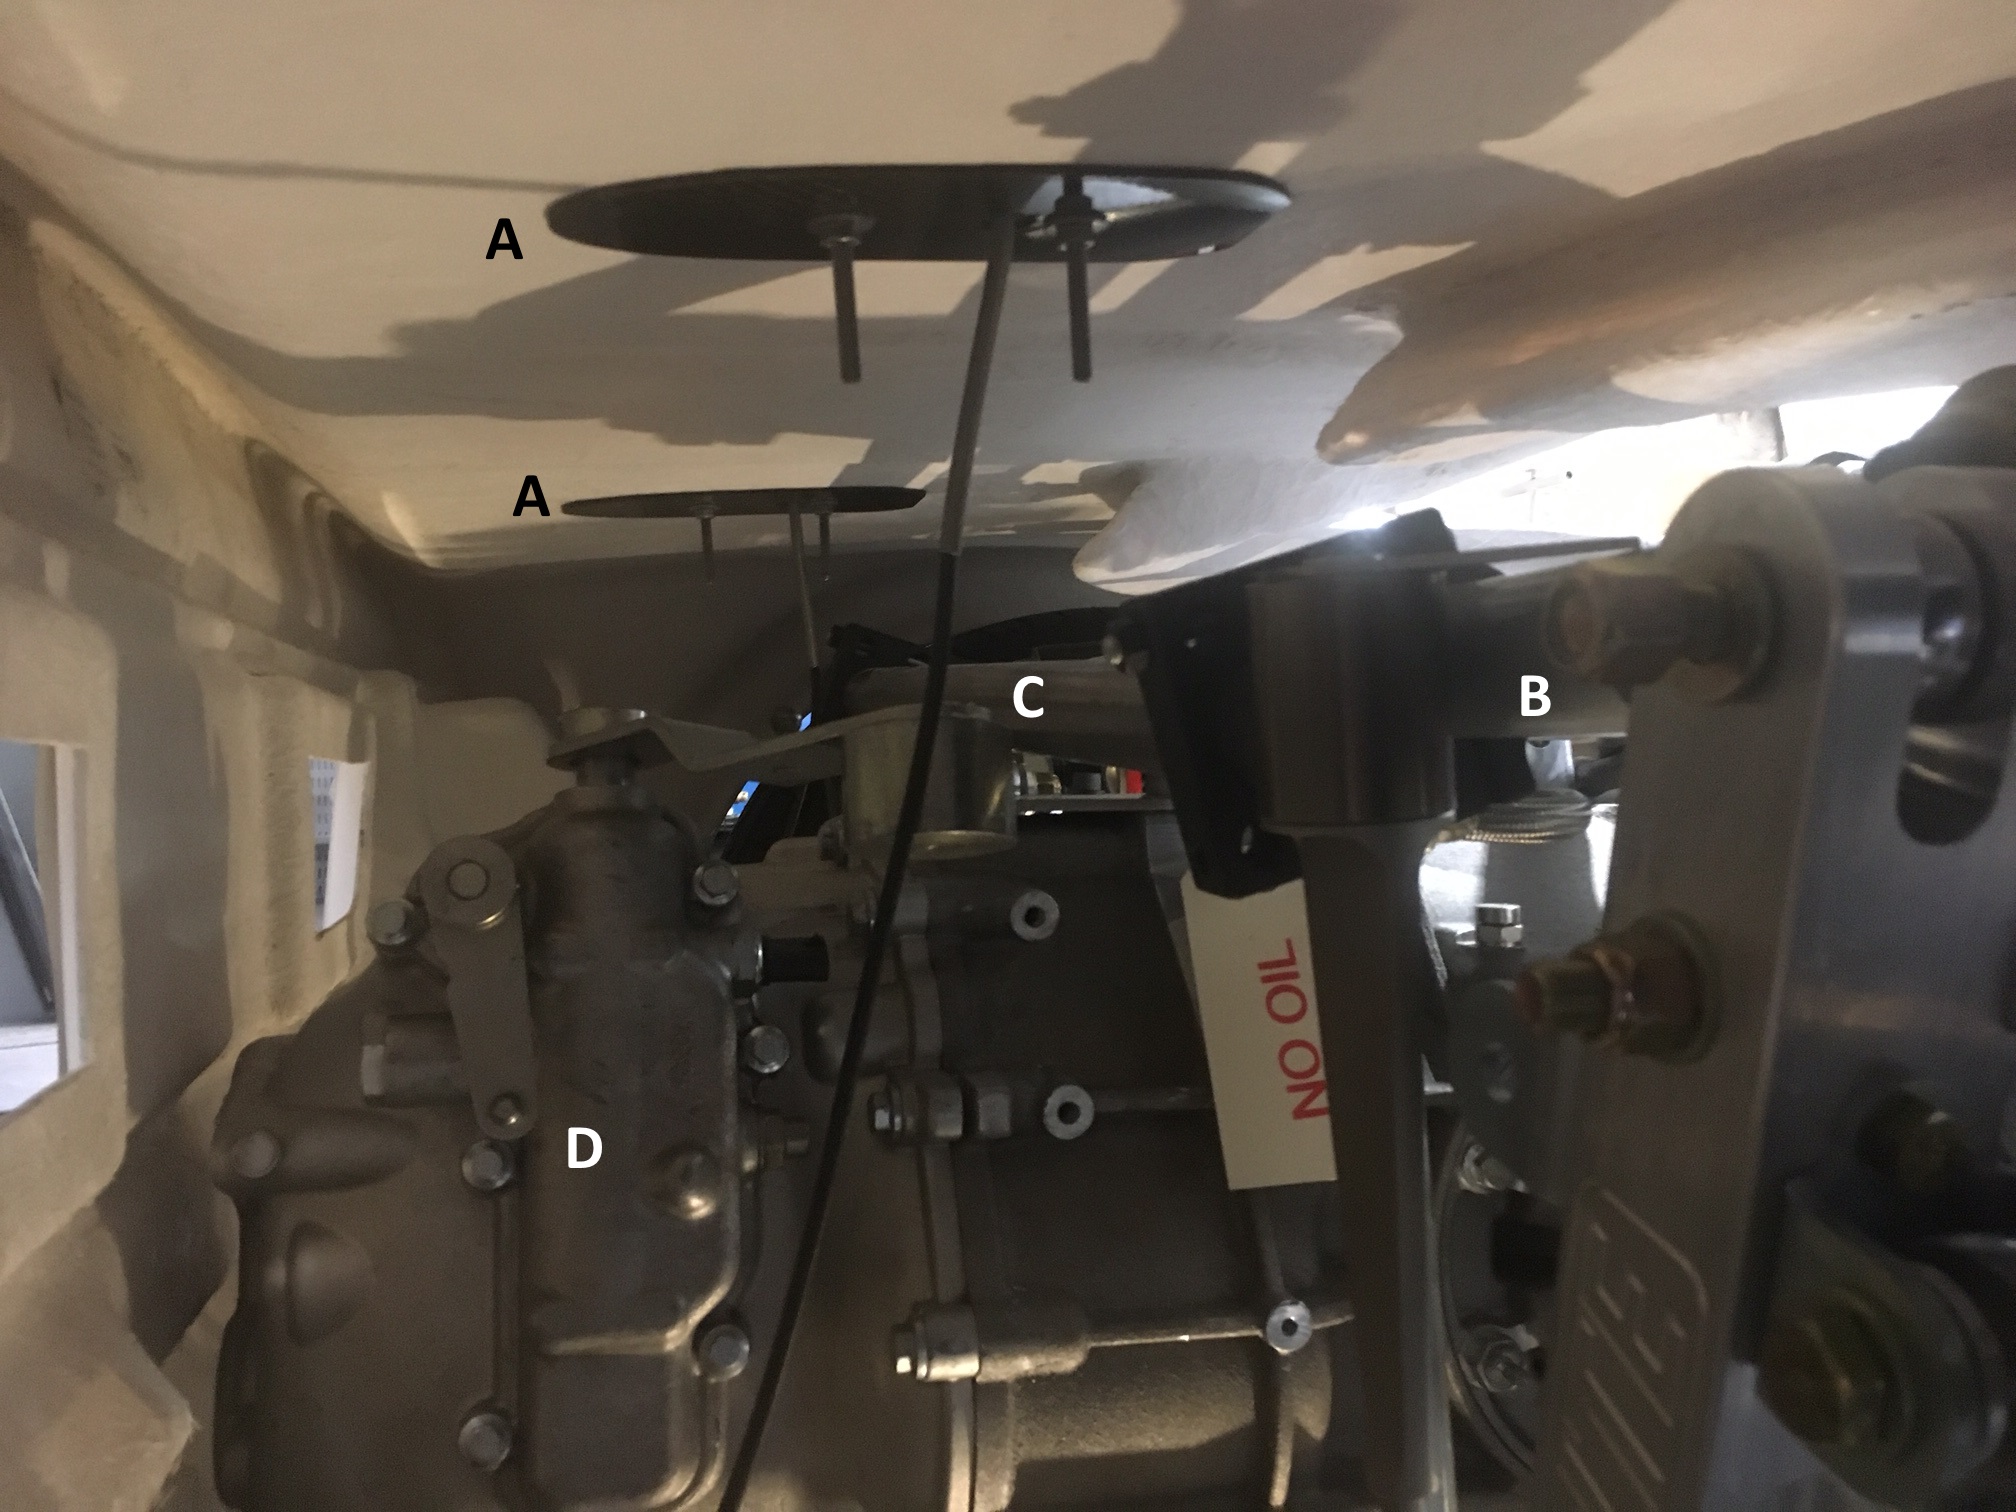
The lights built into garage floor really paid off in the picture above. The relevant parts are as follows: (A) the carbon fiber backing plates included with the wing (the long studs will be cut once the bracket is finalized), (B) the rear most tube in the rear suspension cross brace, (C) the rear sway bar (must have been drinking, because it's crooked there), and (D) the monster Ricardo transaxle.
The first piece is a mounting plate that replaces the provided carbon fiber one. It will be made of ¼" aluminum and will be bonded to the bottom of the tail. A removable cover (shown in red) with the same profile will be made of thin aluminum or stainless steel. The sole purpose of the cover is to hold the power pod wire in place.
The second piece is the bracket that will be welded. The side pieces will be made from¼" steel (that might be thicker than I need) and the cross piece will be ⅜" steel with a ⅜" threaded hole in the middle. It will be TIG welded by someone who knows what they's doing. I could MIG weld it and it would be more than strong enough, but that would violate the "cool" criteria because my welds are ugly!

Wing support bracket
Height Adjuster
The third piece is is the height adjuster. It's made by welding a ⅜" hex held bolt to a ¼" thick by 1.5" diameter steel disk. It's topped off with a piece of hard (i.e., 70A durometer) rubber. A ⅜" bolt seems small, but the force is 100% in compression with no shear and even a Grade 5 has a minimum tensile strength of 9,300 pounds. The adjuster is spun into the wing support bracket until the desired height and then a⅜" nlyoc is used to lock everything in place.
Rear sway bar bracket
The fourth assembly is used to hold the rear suspension sway bar. It's made from a piece of 1/8" bent 1/8" and a custom pillow block machined from aluminum. It's shown here because the wing support brackets must clear the sway bar and all of the brackets are welded to the same tube in the rear suspension cross brace. It would look cleaner to combine the two brackets, but the wing supports are driven by the location of the power pods and the sway bar pillow blocks should be spread as wide as possible. When I get home I'll take some careful measurements, but for now it looks like they'll be separate.
This is what it looks like with all of the pieces put together. I don't have precise measurements, but this is a good first cut.
For some reason it appears in the viewer upside down. You can click, hold and drag the left mouse button to rotate and use the mouse wheel to zoom in/out... it's pretty intative.